Attic insulation: measuring slopes, openings and separate insulation zones
PIR insulation
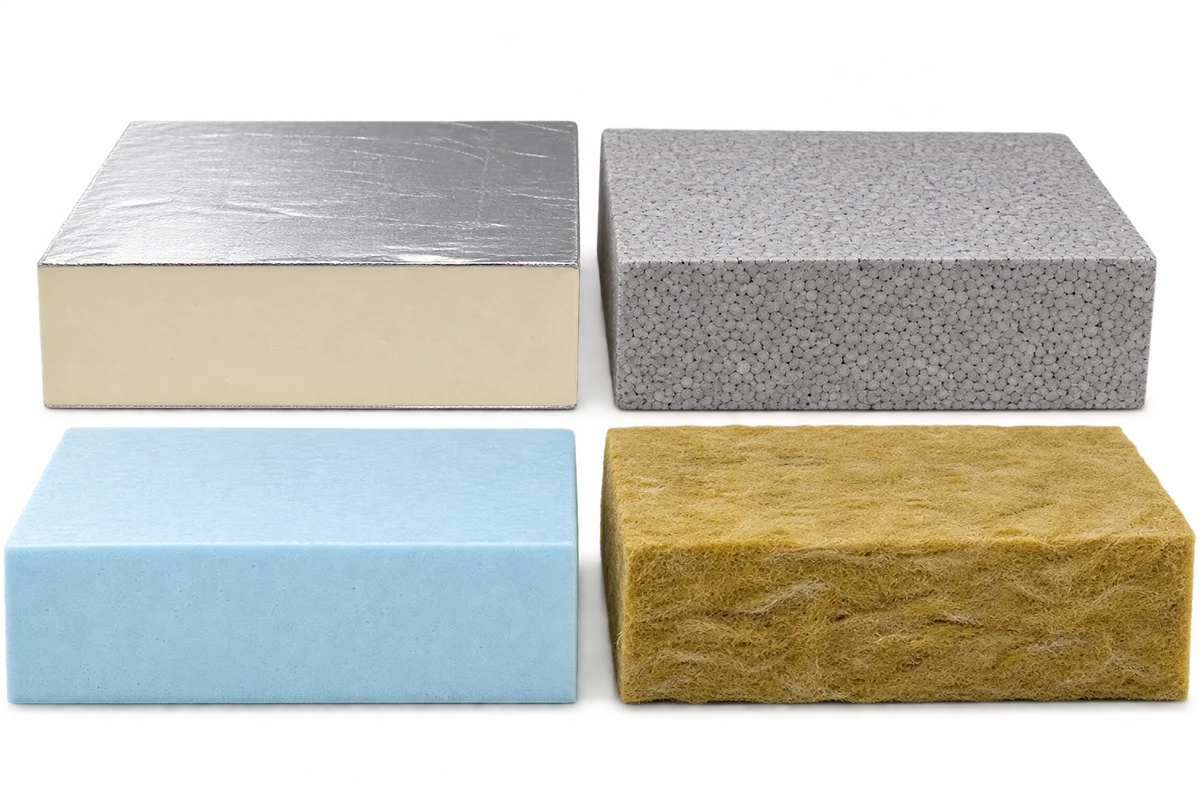
The floor area of an attic is not automatically the roof insulation area. Before ordering PIR, EPS, XPS or mineral wool, identify the elements covered by the design and the products specified for each location. Slopes, horizontal ceiling sections and walls may form separate zones with different thicknesses and installation arrangements. Measurements should show the geometry of each zone, openings and interruptions in the layer. This guide explains how to prepare an understandable area schedule, distinguish geometric quantities from order quantities and avoid errors when handing over measurements. The numerical example calculates area only; it does not specify insulation thickness or make any material suitable for a roof slope.
In this guide
Define the boundary of the insulated space
First give every measured surface a reference that also appears on the drawing.
Mark the designed insulation line on a section. If a ceiling below an unused roof space is being insulated, do not automatically add all the slopes above it. Conversely, when slopes are insulated, the floor plan alone does not describe their area. The measured scope must match the work scope.
Measure surfaces in their own plane
Measure the slope length in the plane of the intended layer. Clearly label whether a dimension is sloping, vertical or horizontal. Where safe access is unavailable, use verified drawings or arrange a survey; do not climb onto an unprepared structure to obtain one missing number.
Divide a complex slope into dimensioned rectangles and triangles. Around a dormer, show which fields meet and which lie outside the measured zone. Avoid measuring the entire slope and then adding a section already included in the first area.
Identify openings and edge treatments
For a window, record the opening in the measured plane. List its reveals separately if they also receive insulation. Do not deduct the package dimensions or glass size. Use an opening reference that can be found on both the drawing and the schedule.
A service penetration or chimney may need a separate detail and different materials around its edge. Mark the area as requiring a designed solution. Not every cut-out is merely a small area deduction that can be ignored while preparing the order.
Combine the areas in a worked example
Measurement example: two rectangular surfaces, each 6.00 × 4.00 m, total 48.00 m². Two openings, each 1.20 × 1.40 m, total 3.36 m². Deducting them leaves 44.64 m² in those two planes. The example excludes additional reveal areas and cutting allowances.
If the design includes two insulation layers in this zone, list them separately with their respective thicknesses. Do not simply double the area without explanation. The buyer needs to distinguish a larger work area from an additional layer over the same area.
Separate measurement from material layout
Once the product is selected, examine its dimensions and a possible layout. Offcuts depend partly on the shape of the areas and whether pieces can be reused in accordance with the instructions. Establish an allowance for that layout rather than assuming one percentage suits every attic.
Do not combine boards intended for different uses merely because their thickness matches. Identify the required product for each zone. An overall area total may be useful, but it must retain the information needed to allocate materials correctly on site.
Hand over measurements without ambiguous shorthand
Attach a drawing with zone references, the measurement date and the basis used. Distinguish drawing dimensions from those checked on site. Identify inaccessible surfaces and assumptions that must be confirmed before the final order.
When the insulation boundary changes, revise the relevant fields rather than only the final total. Retain the previous version clearly marked as superseded. The installer, supplier and client can then identify the reason for a quantity change without deciphering unexplained corrections.
7 branches. Materials closer to your project.