What matters when laying and fixing trapezoidal steel sheets?
Construction and installation
Correct installation of trapezoidal sheeting depends above all on matching the sheets to the design of supports and fixings. It is worth checking that the profile, steel thickness, sheet lengths and laying direction are known, and that the roofing variant has not been confused with a façade one. Screw spacing and laps follow from the specific loads and the tables for the given product, so the T35 symbol alone is not enough. The sequence of works helps control laying, fixing and flashings, but does not replace the instructions for the chosen profile.
1. Check the material and fixing plan
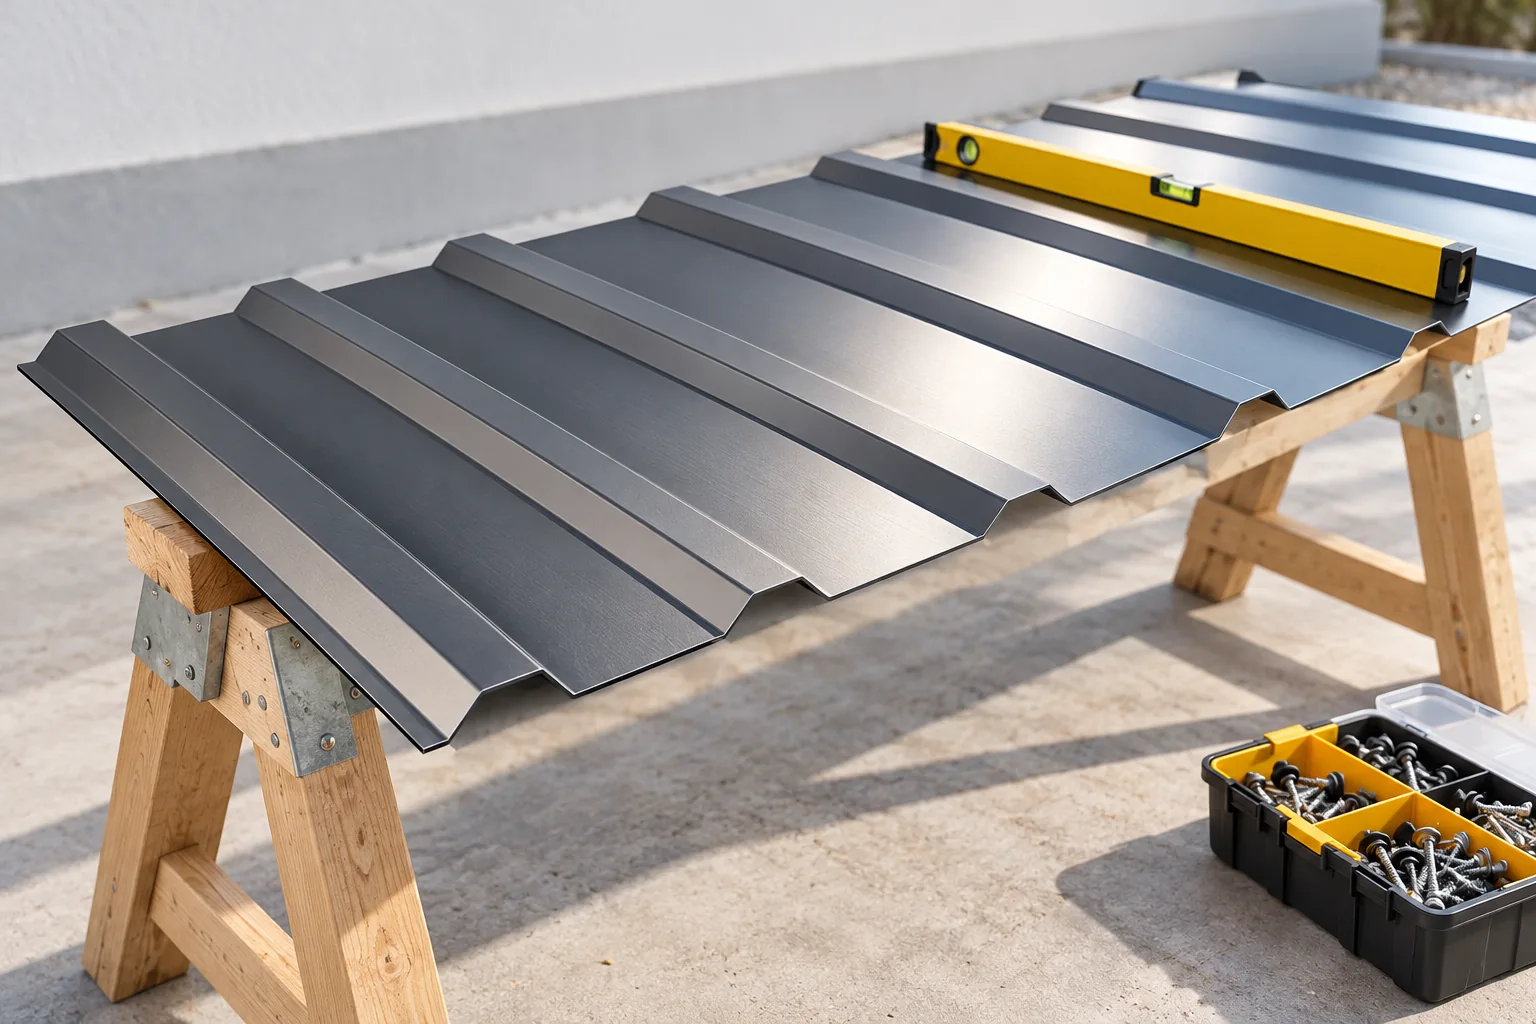
Before delivery, you need to know the profile, steel thickness, sheet lengths and laying direction. The coating and the roof application of the material are also important. A façade variant with a similar name may have a different edge configuration. It must not be substituted without confirming its suitability.
The plan should indicate the supports and fixings for the individual roof zones. Snow load, wind load and the support conditions must be taken into account. The T35 symbol alone does not allow a larger purlin spacing. The parameters come from the relevant table and calculations.
2. Prepare unloading and dry storage
On delivery, the number of sheets, dimensions and surface condition are checked. Dents and moisture should be documented before installation begins. Long elements must be supported in a way that prevents bending. Moving them requires a planned location and access.
Packs are placed on suitable supports in accordance with the storage instructions. Moisture must not remain trapped between the sheets. The transport film does not replace a dry warehouse. If installation is delayed, the storage conditions must be adapted to the expected duration.
3. Accept the substructure and the layers beneath the sheet
The supports should be stable, correctly spaced and aligned in one plane. The straightness of the eaves and the diagonals of the roof slope must be checked. The sheets are not intended to straighten a poorly prepared substructure. Forced pressure can deform the profile and the connections.
At this stage, the underlay, ventilation and the termination of the drainage at the eaves are also checked. In a heated roof, a well-thought-out insulation and vapour barrier system is required. Sheet with anti-condensation fleece does not remove these requirements.
4. Establish the line of the first sheets
The first sheet determines the position of the subsequent ones. It must be set according to the dimensions and geometry of the roof slope, with the overhang at the eaves as specified in the documentation. It is not worth correcting a large error only at the opposite edge. The deviation increases with each successive strip.
The direction of installation and the side of the overlap are determined by the profile. Before final fixing, the position of adjacent elements is checked. The sheet must not be stretched or compressed to force a missing width. This can alter the tightness and appearance of the joint.

5. Make the laps and correct fixings
The side and transverse joints serve different functions. The length of the overlap along the slope and the required seals depend, among other things, on the angle and the system. The joint locations must be planned in relation to the supports. There is no single length suitable for every roof.
The screws are selected for wood or steel and the required substrate thickness. Fasteners fixing the sheet to the structure differ in purpose from stitching fasteners. The sealing washer should be pressed down properly. Under-tightening and crushing the seal are errors.
6. Cut the details without damaging the protection
Cut-outs are made with tools approved for coated sheets. An angle grinder is not suitable for this work. Hot particles can also damage sheets lying nearby. Before cutting, it is worth preparing stable support and protecting the finished surfaces.
Swarf must be collected after cutting and drilling. It should not be rubbed into the covering with a boot. Edges and minor damage are protected according to the recommendations for the specific coating. Accidental paint may adhere poorly or differ from the surface.
7. Close the roof with flashings and accessories
The eaves, gable, ridge and penetration flashings direct water outside the roof layers. Each has a specific function. Their sequence of execution must be agreed with the covering layout. Some elements are prepared before the sheets and others after they are fixed.
Seals should not close the required ventilation paths. The fixings for roof access and snow barriers must be supported on the designated supports. It is not worth leaving these details to random rework after installation is complete.
8. Hand over the finished roof slope and documents
The inspection covers geometry, connections, the condition of the coating, fixings and the patency of drainage outlets. Packaging remnants and waste must be removed from the roof. Work at height should be carried out by persons with appropriate protection. An aesthetically pleasing view from the ground does not yet confirm that all details are correct.
After acceptance, it is worth keeping the material specification, the instructions and photographs of the covered layers. They will be useful during inspections and future work. The list of any defects should indicate the location and method of correction, rather than being limited to a general note that the works have been completed.
7 branches. Materials closer to your project.