Laying tile-effect metal roofing sheets cut to length
Construction and installation
The key decision for cut-to-size metal roofing tiles is whether the order dimensions come from an actual measurement of the roof slopes rather than the house outline alone. Readers should check the lengths, widths and diagonals, the positions of valleys, chimneys and roof windows, and how the covering length depends on eaves and ridge details. A project drawing may not be enough. These findings tie into the choice of profile and the product instructions, so design decisions are left to the designer.
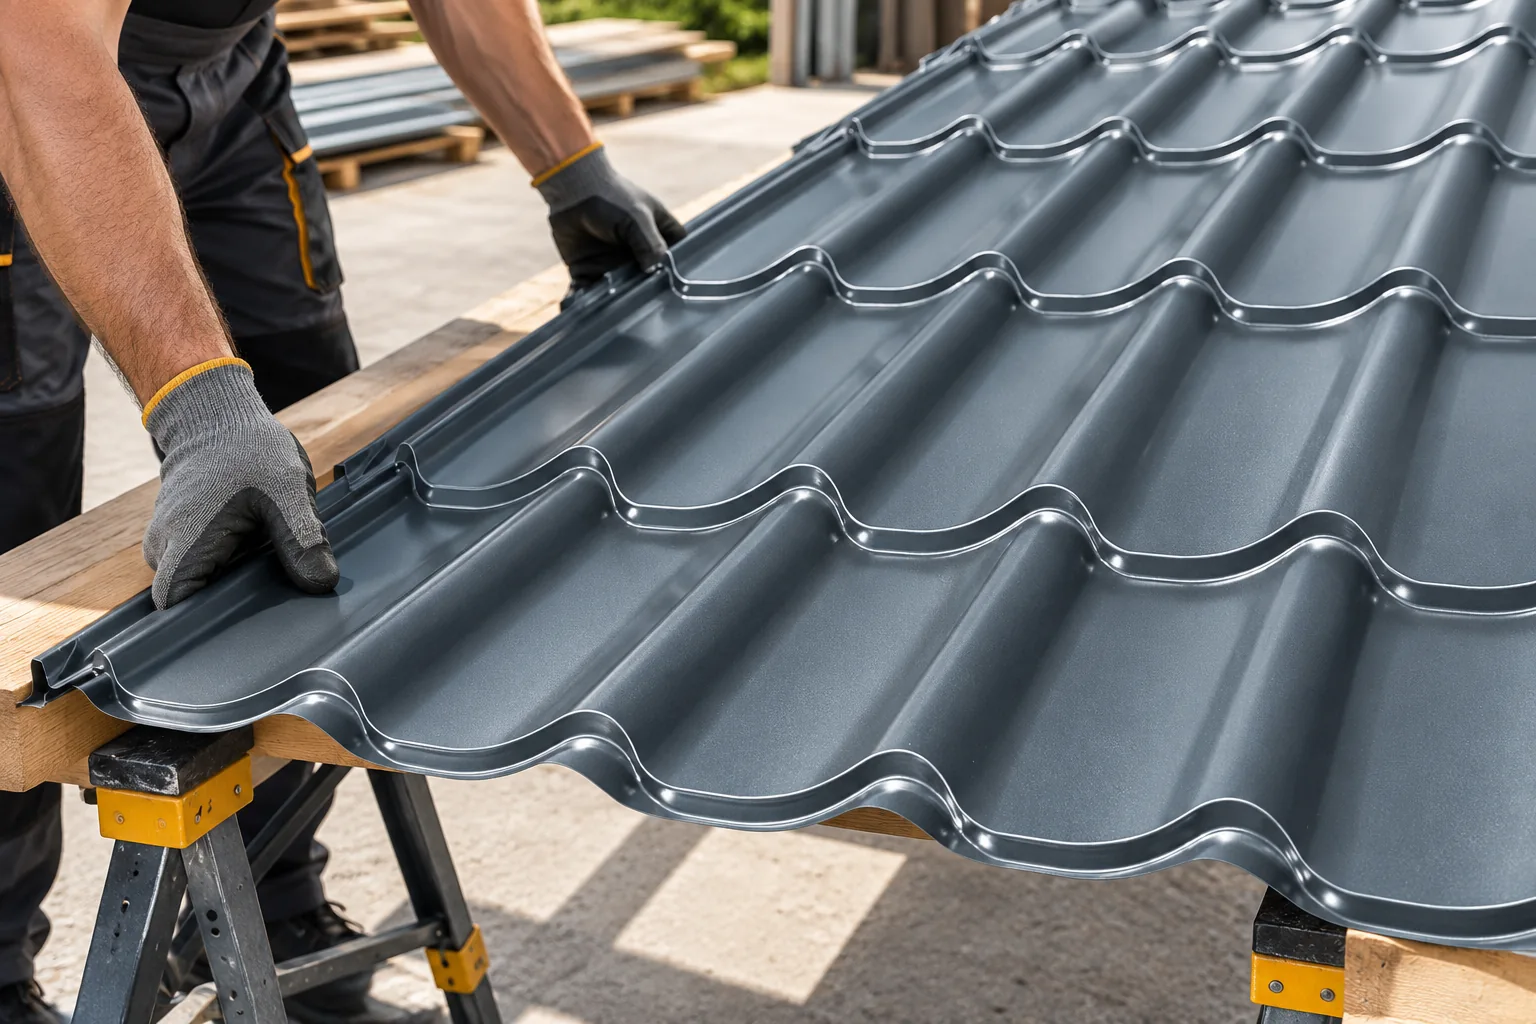
Check measurements before ordering
Measure the lengths of the roof slopes, their width and the diagonals. Establish the position of the roof valleys, chimneys and roof windows. A project drawing does not always reflect all the deviations of the finished structure. Ordering sheets based on the outline of the house alone can result in incorrect lengths and awkward cutting on site.
The length of the covering does not have to equal the distance from the ridge to the outer edge of the wall. Details at the eaves, the termination at the ridge and any overlaps are added. The ordering dimensions must be linked to the product instructions. A sheet that is too long cannot always be conveniently corrected on site.
Assess the batten grid and the layers under the covering
The battens should form an even plane. Their spacing results from the module length and the detail of the first support. It should not be assumed from memory on the basis of another tile-effect metal roofing profile. The cross-section of the timber, its condition and its connection to the structure are checked separately.
Before covering the roof slope, check the membrane, the overlaps and the drainage at the eaves. If the system requires ventilation under the covering, its channel must have an unobstructed inlet and outlet. Roof penetrations must not create places where water collects. Repairing these elements will be more difficult once the sheets are screwed down.
Plan the transport of long elements
Sheets should be lifted so that they do not bend under their own weight. The number of people and the method of support are chosen according to the length and the transport instructions. The sheet must not be dragged over the ground or one sheet slid over another. Even small grains of sand can scratch the coating.
Prepare a safe unloading area and a route for passing the sheets up onto the roof. Strong wind makes it difficult to control the large surface of a sheet. Work should be carried out from a suitable working position. The convenience of carrying in one long element is not more important than the safety of the team.
Set the first course without fixing an error in place
The reference point is the roof slope geometry and the planned eaves line. The first sheet requires its alignment to be checked before a long run of covering is created. A slight angle error can accumulate with each subsequent element. The result is often uneven overhang or a difficult closure at the outer edge.
The laying direction and the method of overlapping the sides follow from the construction of the interlock. The course of the capillary groove and the fit of the profiles must be maintained. The sheet must not be reversed in order to use a random offcut. An apparent match of the surface does not guarantee that the overlap will perform correctly.

Match the fixing to the specific system
The screws fixing the covering to the timber have a different task from the fasteners joining the sheets. Their diameter, length and washer must match the application. The layout depends on the instructions and the loads. There is no single number of screws that is correct for every roof.
The fastener should be driven perpendicular to the substrate. The washer is to seal the fixing point but must not be crushed by excessive pressure. Insufficient tightening is also an error. The tool setting is checked on the actual material rather than relying solely on an arbitrary clutch position.
Cut cold and finish the details
Tools approved for coated sheet that do not overheat the edges are used for cutting. An angle grinder can damage the protection and scatter hot filings. After drilling and cutting, the chips must be removed. If left on the roof slope, they can corrode and soil the finished covering.
The roof valley, chimney and ridge require their own flashings and space for water drainage. Sealant does not replace the correct shape of the sheet. In ventilated details, the airflow must not be inadvertently closed off. At chimneys, independent movement of materials must be taken into account rather than rigidly bonding everything into one element.
After cutting, check the recommendations for protecting the edges and places where the coating is damaged. Touch-up paint is not intended for painting over entire strips without need. Its colour may age differently from the factory layer. Larger damage should be assessed before installation rather than assuming it will be invisible from below.
What to check at handover?
Inspect the eaves line, the arrangement of the overlaps and the terminations at the flashings. Check for scratches, filings and leftover pieces of protective film. Also assess the condition of the gutters after the work is finished. Cutting above them can leave waste that is invisible from ground level.
Ask for photos of the concealed details, a list of the materials used and maintenance instructions. Agree how noticed defects are to be reported. Acceptance should not amount to a glance at the colour from the street. Tightness and durability result primarily from the places that are viewed up close.
7 branches. Materials closer to your project.