Preparing to install insulated sandwich panels on a roof
Insulated sandwich panels
The key is to verify that the chosen roof panel matches the system documentation before you order the material. Check the spans, roof pitch, fixing and lifting methods, as well as the layout of lengths and roof penetrations. A roof panel differs from a wall panel in geometry and purpose, so comparing core thickness alone is not enough. Also establish the requirements for seals, fasteners and acceptance checks. These decisions belong to the designer and the contractor, not the supplier. Good preparation reduces the risk of leaks and installation errors.
Confirm the correct panel type
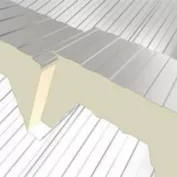
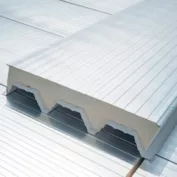
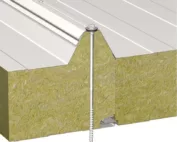
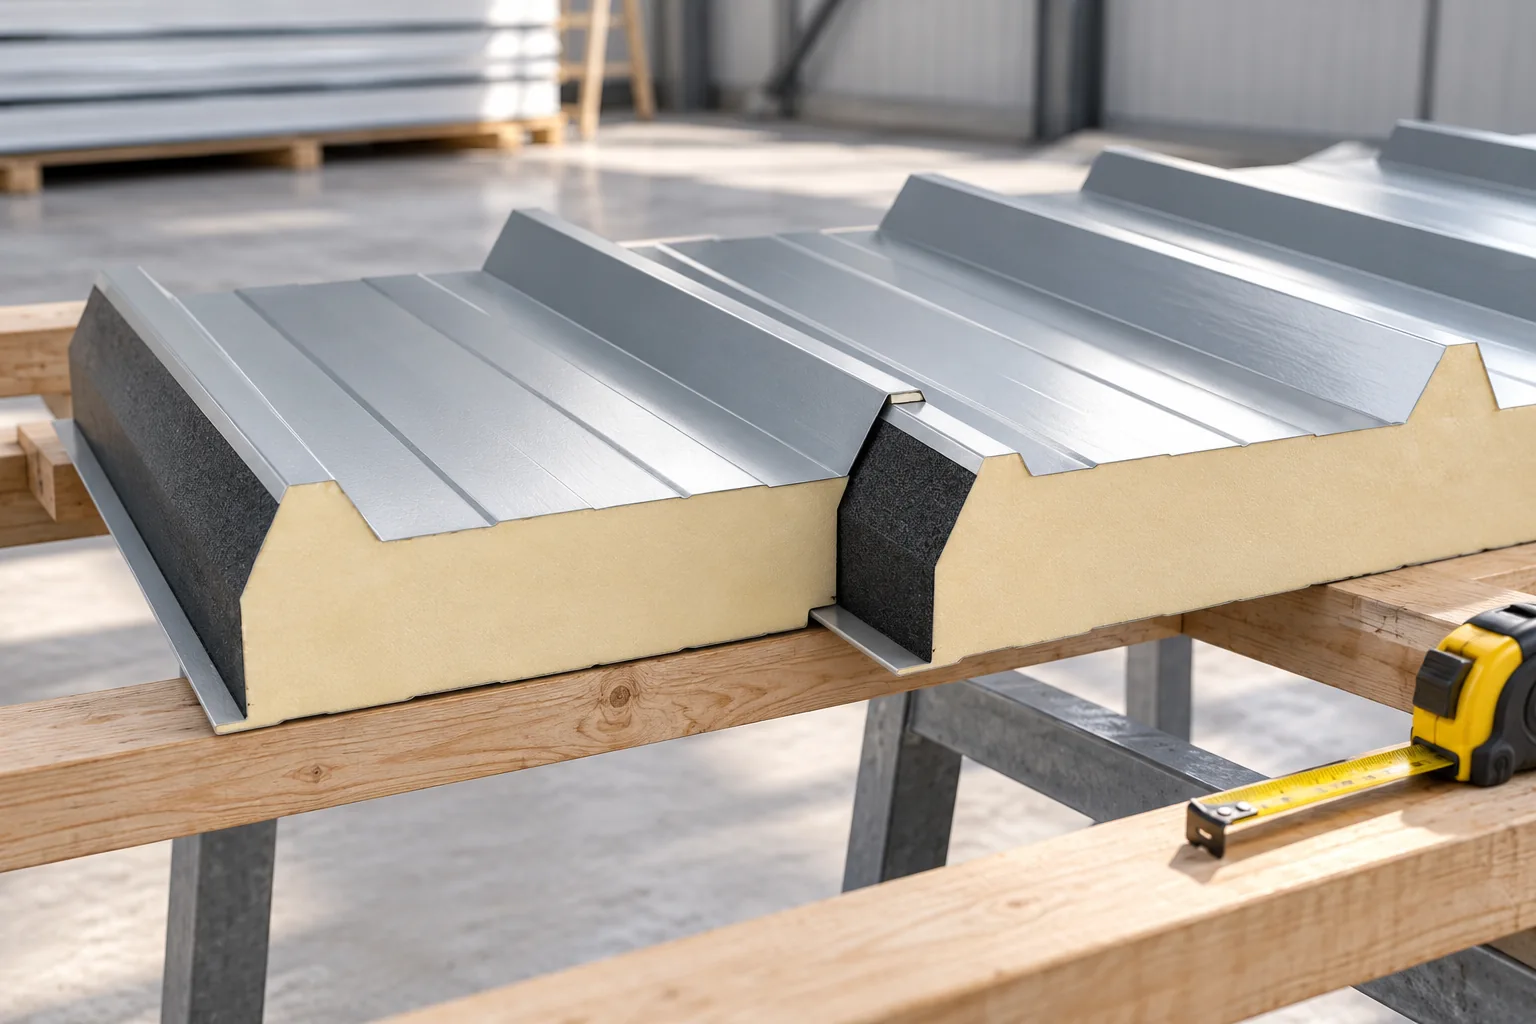
The roof panel has a geometry suited to working on a roof slope, typically with a pronounced trapezoidal profile on the upper facing. The wall panel is a different product. One type cannot be replaced by the other solely on the basis of core thickness. The intended use and method of joining must follow from the documentation.
Check the core, facing thicknesses, modular width and colour. Thermal and fire properties relate to a specific configuration. Two panels of the same nominal thickness need not have the same load-bearing capacity. The order should clearly specify the variant and the direction in which any cut-outs are to be prepared.
Check the supports and roof slope
Before delivery, check the spacing, width and plane of the supports. Construction errors make it difficult to close the seams and can cause incorrect stresses. The panel is not intended to straighten crooked purlins. Load-bearing capacity must be assessed for the actual structural scheme, loads and fixings.
The minimum roof pitch depends on the system and on whether there are longitudinal joints or rooflights. Instructions quote various values, given in percent or degrees. These units must not be equated. The pitch must be confirmed for the selected configuration before ordering panels.
Plan the lengths and roof penetrations
One panel along the length of the roof slope reduces the number of transverse joints but increases transport and installation requirements. The maximum permitted length and the lifting method must be checked. A dark colour can affect the working conditions of the facings. It is therefore not solely an aesthetic decision.
Determine openings for cables, roof hatches and rooflights at the drawing stage. They cut through the panel cross-section and require proper support and flashings. A large opening should not be cut in a finished roof without a structural assessment. The same applies to installation brackets and technical platforms.
If a transverse joint is necessary, determine the length of the undercut and its position on the support. This detail must not be improvised by sliding two unprepared ends together. The specified overlap of the top facing and continuity of insulation must be maintained. The laying direction must be coordinated with the preparation of components at the factory.

Prepare the site and lifting equipment
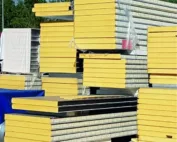
Packages are stored on a stable base, protected from moisture and damage to the facings. The transport film must not be treated as a permanently reliable roof covering. Plan the delivery sequence to limit the need to move packages and the risk of mixing up components of different lengths.
Lifting equipment is selected according to length, weight and core type. The manufacturer may require a specific arrangement of suction cups or a spreader beam. Suspension at random points risks damaging the bond between facing and core. Do not place entire packages on the structure without checking the local load.
Agree the seals before starting
The joint connects the panels but does not replace all seals on the roof. The eaves, ridge, transverse joint and service penetrations are detailed separately. On the interior side, airtightness may be important. On the exterior, water must be drained away without creating areas where it can accumulate.
Tapes, sealants and profile closures must match the system and the building’s conditions of use. A material used in a cold store may require different details than the envelope of an unheated warehouse. A missing seal must not be replaced with random foam. Its durability and compliance with the classification are not obvious.
Prepare fixings and tools
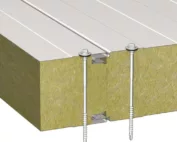
The screw length depends on, among other things, the panel thickness and the substrate. Its drilling capacity must suit the support. The arrangement of fasteners and any sealing washers results from the design and the instructions. Excessive pressure can deform the facing, while insufficient pressure can cause looseness and leakage.
Panels are cut with tools approved for this application, without overheating the coating. Swarf must be removed promptly. The protective film is removed at the specified time, including from areas that will later be inaccessible. Leaving it under the flashing can make a neat and tight finish difficult.
Define the scope of inspection at handover
Check that the layout matches the drawing, the condition of the joints and how the edges are finished. Inspect the coatings, fasteners and seals before the details are finally covered. It is worth keeping photographs of the connections. They make it possible later to establish the course of the works without opening the finished roof.
Handover documentation should include panel identification, user instructions and the approved method of moving on the roof. The rules for installing future equipment must also be established. A finished insulated sandwich panel is not an arbitrary platform or a universal support for every installation.
7 branches. Materials closer to your project.