Planning the anchors between a timber wall plate and a concrete ring beam
Construction and installation
The key decision when anchoring the wall plate to the ring beam is matching the anchor type, spacing and embedment geometry to the specific loads, concrete class and rafter layout. It is worth checking whether the design clearly specifies these parameters and how forces are transferred through washers and nuts before concreting begins. Also verify that the solution accounts for wind action and that connection details at ends and corners are consistent with the rest of the roof structure. Without this, the risk of clashes and installation errors increases considerably.
Why does the wall plate need a designed connection?
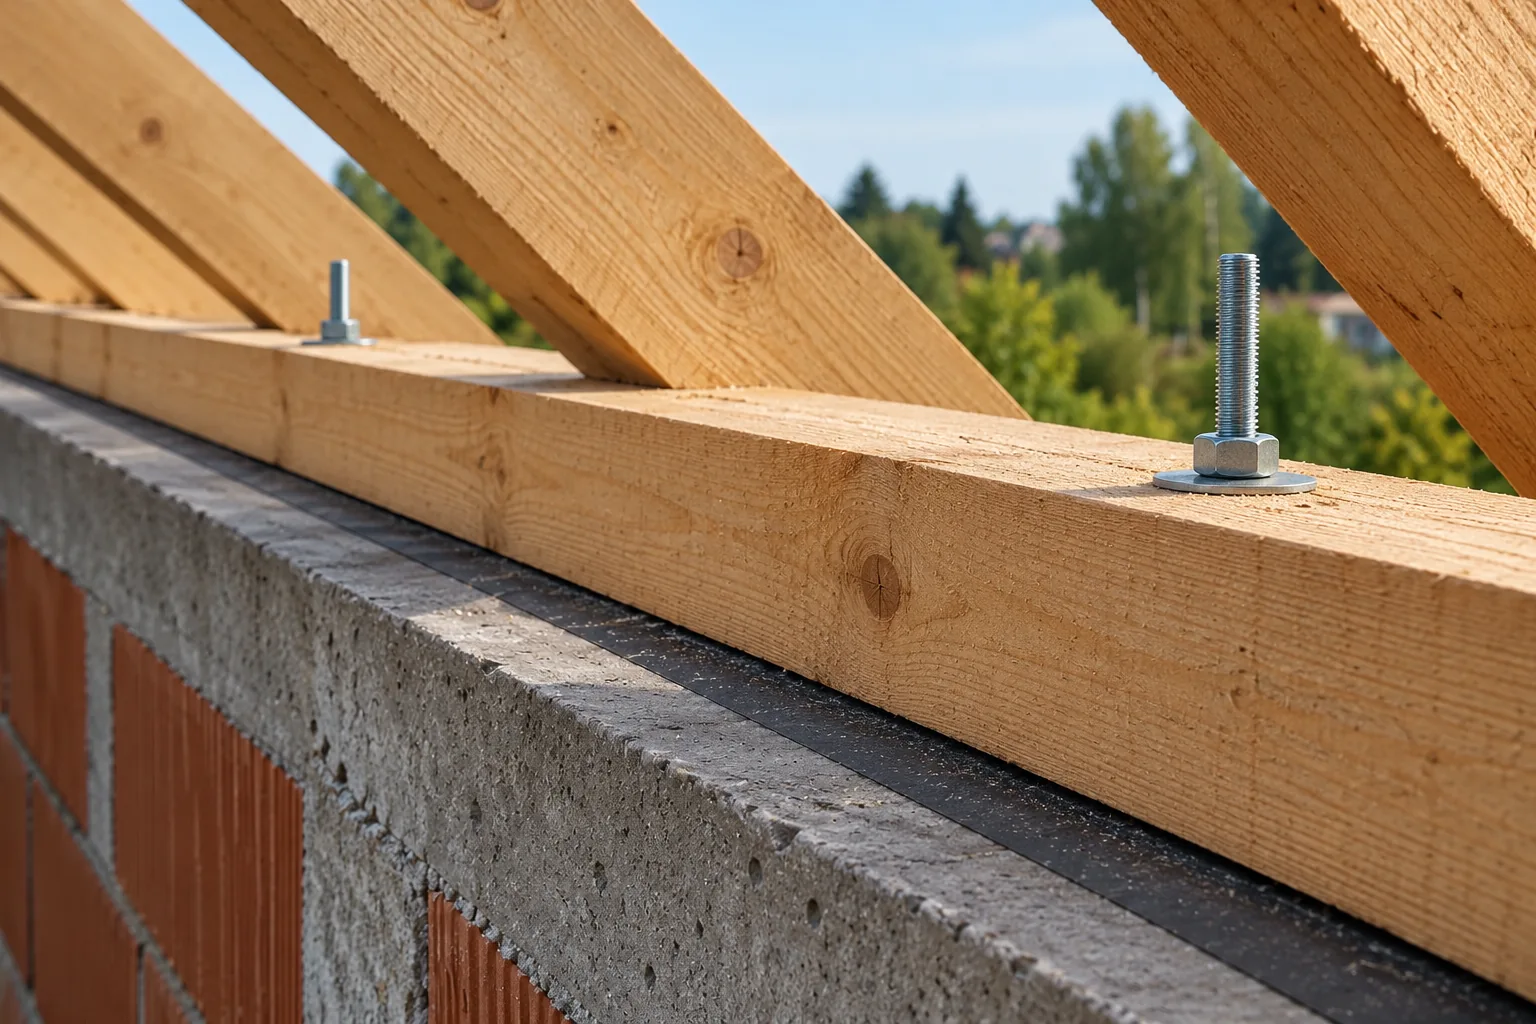
The wall plate distributes the reactions from the roof elements to the support and works together with its connections. Depending on the structural scheme, various forces may act on it. It is not only about preventing the timber from shifting during installation. The connection should perform throughout the building’s service life and under weather loads.
The weight of the roof does not replace anchoring. Wind can cause uplift forces, and their value depends, among other things, on the geometry and location of the building. Therefore, even lightweight sheet metal also requires a correct connection of the structure to the supports. The selection of anchors is part of the continuous load path down to the foundations.
What should the design specify before work begins?
The anchor type, embedment geometry, spacing and edge distance are required. The concrete class, reinforcement and dimensions of the ring beam must be taken into account. On the timber side, the cross-section of the wall plate and the way the force is transferred through the washer and nut are important. Each of these parts affects the performance of the connection.
The spacing should not result from a single popular number repeated for all roofs. A different load or support arrangement may require a different solution. The designer must also check the splice locations of the wall plates and the corners. Equal spacing along a long straight section does not automatically solve a difficult detail at the end of the element.
How to avoid clashes with rafters?
The anchor positions should be coordinated with the rafter layout and the connectors. A protruding rod should not force random notching of the load-bearing element. Before concreting, it is advisable to check the axes and levels against the current roof truss design. A change in rafter spacing after the ring beam has been cast may affect the previously prepared points.
If a clash has already occurred, the anchor should not be removed independently or bent in an arbitrary manner. The solution should be specified by the designer. Similarly, relocating a hole in the wall plate requires an assessment of the distance from the edge and from adjacent holes. The repair is to restore the designed load-bearing capacity, not merely to allow the beam to be placed.

Can a glued-in anchor replace a cast-in anchor?
Such a change can only be considered as a selected technical solution. An anchor for installation in hardened concrete has its own requirements regarding the substrate, embedment and installation. What matters is the specific system, not merely the term chemical anchor. The parameter of one product does not describe all mortars and rods.
Before drilling, the reinforcement and the conditions in the ring beam must be taken into account. The hole depth, its preparation and the time required to achieve the specified properties follow from the documentation. These values should not be selected by eye. The substitution is a design task, especially when it concerns the repair of an incorrectly embedded or damaged connection.
How should timber be separated from the substrate?
The wall plate requires proper support and a solution for its contact with the concrete. The design should include a separating layer between the timber and moisture from the substrate. It must not form an accidental soft pad that would alter the support conditions. The evenness of the surface and the condition of the timber at the time of installation are also important.
A wet component should not be enclosed between layers that restrict drying. The protection of the timber is selected according to the conditions of use. Near the wall plate, the continuity of the insulation and the airtightness of the building envelope must later be maintained. The construction detail must therefore be coordinated with the insulation, without covering the required inspection points before acceptance.
What should be checked during installation and acceptance?
The inspection covers the conformity of materials, the position of the anchors and the condition of the substrate. The washers, nuts and the method of fixing the timber must also be checked. Tightening should correspond to the adopted solution. Excessive pressure can damage the timber, while a loose connection does not fulfil the design assumptions.
Pay attention to cracks at the holes, damaged threads and missing parts. Do not conceal such places with insulation before assessment. Acceptance should take place at the stage when the detail remains accessible. Photographs and a description of the system used help to check the execution later without dismantling the finished attic finish.
What should be done when renovating an old roof?
The existing anchoring must first be identified. A visible nut does not reveal the embedment depth or the condition of the hidden part. The timber, the concrete and the rafter connections must also be assessed. Replacing the covering with a lighter one does not eliminate the problem of uncertain anchoring. The wind load must still be transferred to the structure.
The repair plan should specify the sequence of works and any temporary support of the roof. Further locations should not be weakened without ensuring stability. A well-prepared detail allows a connection to be made that can be inspected. This is more important than attempting to apply one universal rod diameter or spacing in every building.
7 branches. Materials closer to your project.