What do roof battens do beneath the covering?
Construction and installation
Roof battens form the framework that supports the covering and mark where sheets are fixed, so before buying material it is worth agreeing with the contractor whether their spacing and cross-section match the geometry of the chosen profile and the expected loads. An even-looking finished frame is not enough — batten positions must suit the shape of the ribs, and for trapezoidal sheets the support method follows from the design and the tables for the specific profile. Also check that battens are not confused with counter-battens, which create a ventilation gap above the underlay.
What is a roof batten used for?
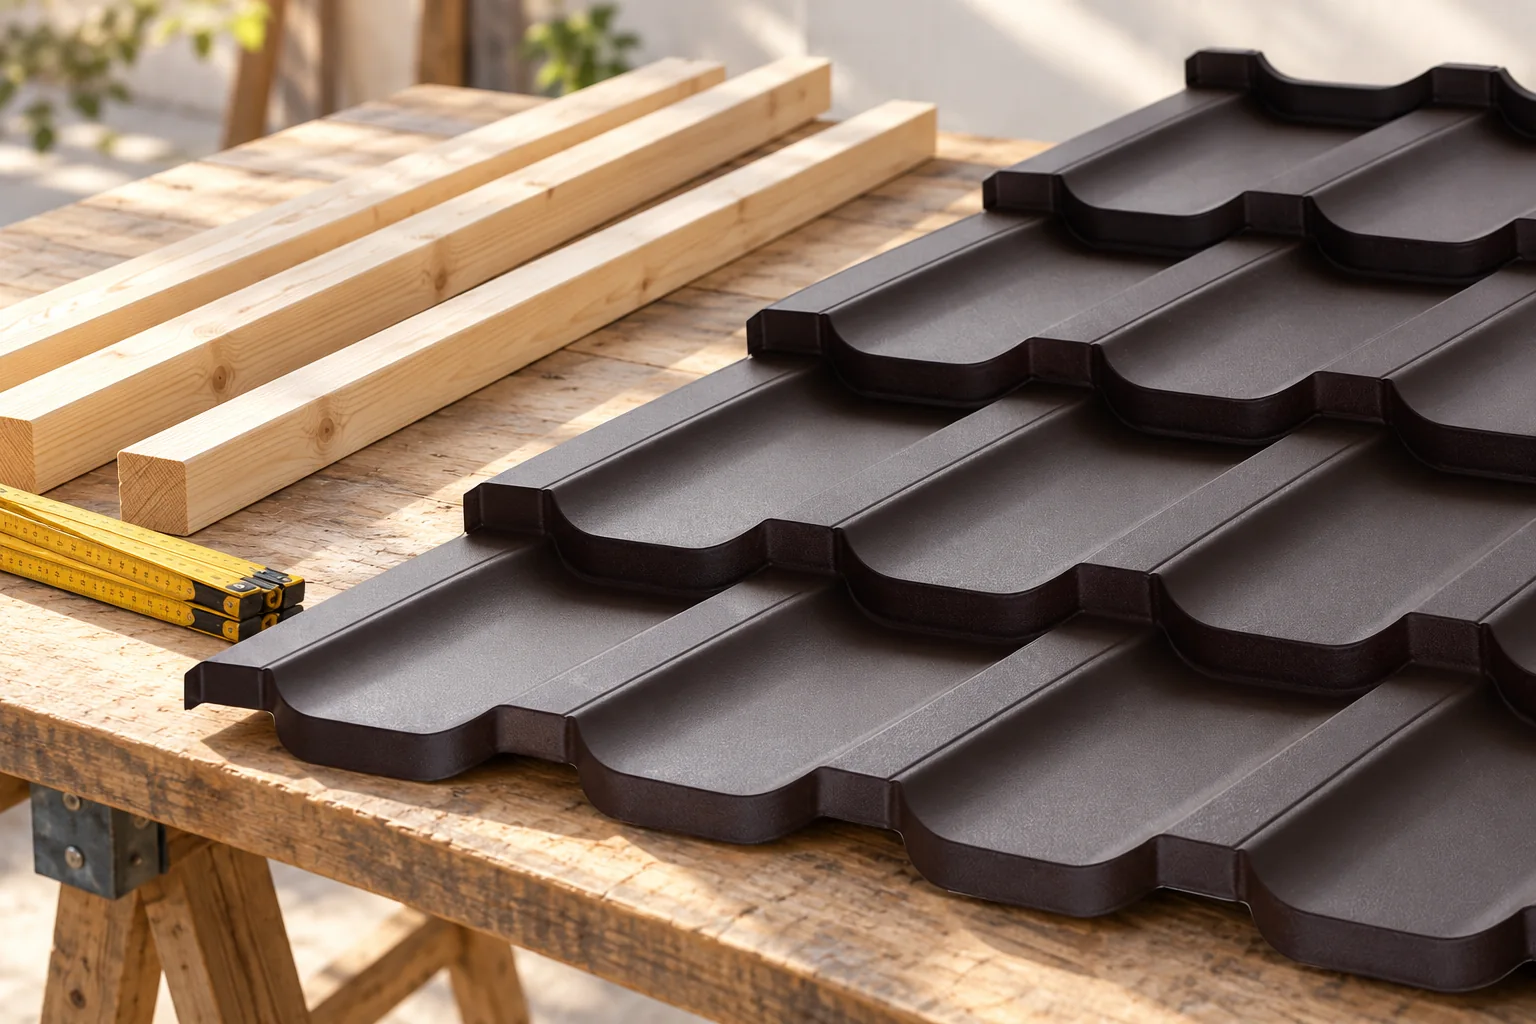
Battens are parts of the substructure on which the covering rests. They take the load from the sheets and transfer it to the subsequent parts of the structure. They also define the fixing points for tile-effect metal roofing. Their position must match the shape of the profiles, not merely look evenly spaced on the finished frame.
For trapezoidal steel sheet, the support method follows from the design and the tables for the relevant profile. T18 and T35 do not automatically have the same support spacing. Sheet thickness, steel grade and loads matter. The profile name alone is not enough to determine the dimensions of the timber substructure.
How does a batten differ from a counter-batten?
Counter-battens usually run in the direction of the roof slope and create a gap above the underlay. The battens are laid on them, usually transversely. This arrangement helps maintain space for airflow from the eaves up to the ridge. Both elements work together but have separate tasks.
The dimensions of the gap and the way it opens must be adapted to the specific solution. Counter-battens alone will not ensure ventilation if the inlet or outlet is closed. At chimneys and roof windows, interruptions in the air path must be taken into account. The details are resolved before laying the covering.
How is batten spacing determined for tile-effect metal roofing?
The starting point is the module length of the given covering and the installation instructions. The specified dimension must be measured in a defined way, for example between the same edges. Random mixing of axes and edges leads to accumulating errors. On a long roof slope, small deviations can become clearly visible.
The first spacing at the eaves is sometimes different from the subsequent ones. It depends on the sheet end, the flashing and the support method. This dimension should not be transferred from another tile-effect metal roofing, even if both products have a similar pattern. Trying to force-fit the modules can damage their connections or make fixing more difficult.

What determines the cross-section and material of the substructure?
The batten cross-section is selected according to the spacing between supports and the loads acting on it. The properties of the timber and the method of fixing also matter. The covering manufacturer’s instructions may specify minimum requirements, but these must be related to the structural design. The value shown in an example drawing is not always sufficient for a specific roof.
The timber should be of a specified quality and in a condition suitable for the application. Twisted, damaged or uneven components make it difficult to achieve a good plane. Timber protection must not cause corrosion of the sheet metal and fasteners in contact with it. Some systems use a steel substructure with its own installation requirements.
How do you check the plane before installation?
Begin the inspection with the geometry of the structure and the eaves line. The battens should form an even plane in accordance with the design. Check their continuity and the bearing of the ends. A sheet laid on an uneven substructure may deform, and the joints will not perform as intended in the instructions.
When replacing a roof, assess the old battens after exposure. Areas at leaks, chimneys and the eaves are particularly important. Retaining the material may only be justified after checking its condition and dimensions. Do not adapt the new covering to a random spacing left over from the previous solution.
Which mistakes make later sheet fixing more difficult?
One common problem is the lack of support at the location of the intended screw. The installer may then try to move the fastener outside the correct zone of the sheet. This changes the fixing conditions and may impair tightness. The substructure should be prepared for the covering before its installation begins.
A second mistake is failing to allow for additional components. Supports for roof access, snow guards and installations require a suitable base. Not every one of them can be screwed to any batten. Their layout is best determined in advance to avoid dismantling the finished roof surface.
What should be agreed with the contractor before buying the material?
Provide the technical name of the selected covering type, its data sheet and installation instructions. Agree the cross-sections, spacings and the method of forming the eaves zone. Mark the locations of chimneys, windows and equipment. With above-rafter insulation, the method of transferring forces through the substructure fixings must also be checked.
Before covering, carry out an acceptance inspection and take photographs of the substructure. At this stage the geometry can still be corrected and any necessary supports added. Once the sheets are screwed down, the same work becomes more troublesome. Well-prepared battens save time during installation and reduce the risk of later corrections.
7 branches. Materials closer to your project.