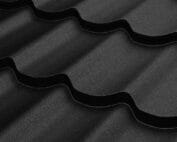
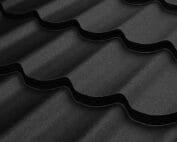
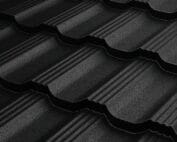
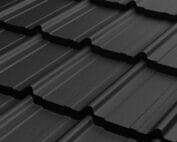
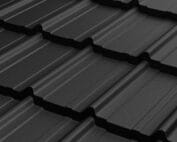
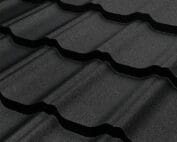
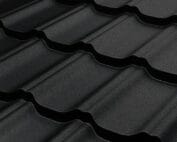
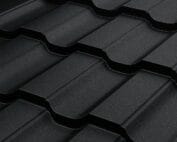
Laying modular metal roof tiles on a sloping roof
Construction and installation
The key decision with modular metal roofing tiles concerns matching the product to the prepared battens, not merely laying the sheets. Confirm the model, coating and number of modules, assess the condition of surfaces, edges and packaging, and set damaged items aside for clarification. Also check the specific profile’s instructions for laying and fixing sequence, since the small format makes handling easier but does not remove the risk of geometry errors. Entrust work on the roof slope to people prepared for safe installation, and resolve doubts before the substrate is covered.
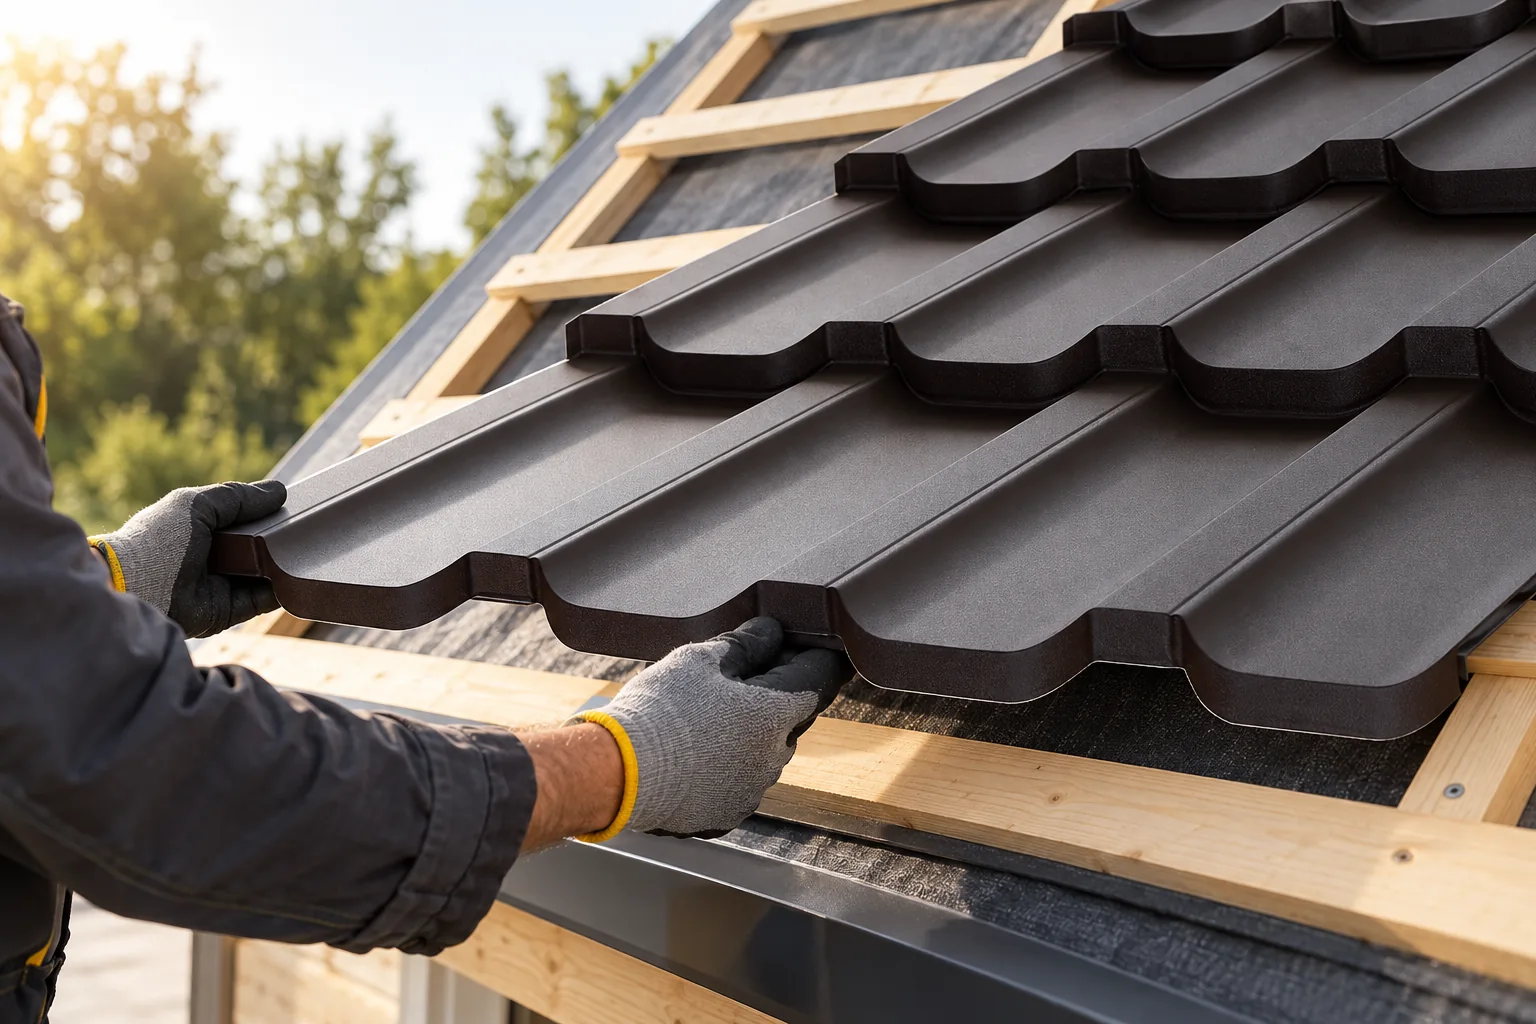
Check the complete set and prepare the workplace
Before starting, the model, coating and number of modules must be confirmed. The condition of surfaces, edges and packaging is assessed. A damaged component is better set aside for clarification before installation. Tightening a dent with a screw can change the shape of the overlap and the tightness of the joint.
Modules are stored under the conditions specified in the instructions. They must be protected from water trapped in the pack and from dirt between surfaces. Hoisting onto the roof should follow a planned route. An unnecessarily large stock of material should not be accumulated on the roof slope.
Accept the substrate before the sheets cover it
Battens must match the profile module and the product recommendations. The first run at the eaves requires separate checking. The dimension should not be copied from a similar model. The cross-sections and the fixing of the substructure to the structure are also important.
The check covers the roof slope plane, the straightness of the eaves and the diagonals. The membrane, water drainage and ventilation paths must be verified. An uneven support can deform several adjacent modules. Laying the sheet metal is not a way to level poorly prepared battens.
The first modules determine the entire geometry
The positioning of the initial elements must be checked against the eaves and control lines. A small error can grow in subsequent rows. For this reason, the position should be checked continuously before finally fixing a larger section.
The laying direction depends on the overlap design of the given model. Not every module allows work to proceed freely from either side. The instructions may also specify a particular sequence for joining several elements. This must be followed so as not to force the position of the edges.
Laps should join without stressing the sheet
Adjacent modules must engage the correct profiles and support points. An element should not be stretched to correct the row spacing. Doing so can cause gaps, steps and problems with subsequent covering. If there is resistance, the cause of the mismatch must be found.
The cleanliness of the joint also matters. Swarf, sand or fragments of packaging under the overlap can damage the coating. Before the next element is closed, dirt should be removed. The joint should match the actual profile, without random additional shims.

Select the fasteners and control their tightening pressure
The fastening screws into the battens and the connectors between elements may serve different purposes. Their type, position and number follow from the instructions and the loads. The zones near the edges require particular attention. A universal number of screws for the whole roof does not replace a fastening plan.
The washer should be pressed down as intended, without being squeezed out or damaged. A screw set at an angle may not seal the joint. The tool setting and the condition of the substrate must be checked. A fastener that turns without resistance requires assessment, not just further tightening.
Plan cuts at roof valleys and openings in advance
Near a roof valley or chimney, the modules must be matched to the designed flashing. The drainage space must not be accidentally narrowed. Before cutting, the position of the edge and the fastening point should be checked. A fragment that is too small may not have proper support.
Coated steel sheet is cut cold with approved tools. An angle grinder can damage the protection and leave hot particles on the roof surface. Swarf is removed after drilling and cutting. The edges are protected in accordance with the coating instructions.
Ensure flashings and ventilation are maintained
The elements at the eaves, ridge and gables must work together with the covering module. Their task is to direct water and protect the relevant edges. An incidental sealant does not replace a missing flashing. The installation sequence specified in the detail must be maintained.
Seals and tapes should fit the given location. Not all open spaces should be filled with foam, because some of them serve ventilation. The supports for snow guards and barriers require a prepared substrate. They are best taken into account before the roof surface is closed.
Handover should cover more than straight rows
After installation, check the joints, fixings, flashings and surface condition. Remove swarf and packaging remnants and check the drainage outlets. Visible damage should be documented and repaired in accordance with the recommendations. It is not worth leaving minor problem spots until the first inspection.
Keep the instructions for the correct model and photographs of the layers before they are covered. These will be useful during later installation of equipment or replacement of a component. The finished roof should also have a defined procedure for safe servicing. Correct laying of the modules is part of the overall solution.
7 branches. Materials closer to your project.