Checking the roof before the first autumn frost
Renovation and maintenance
Before the first frost, start by comparing the roof’s current condition with photographs from a year ago and notes on earlier defects, then check that the entire drainage path is clear, not just the leaves visible at the gutter. The inspection should cover the covering, flashings, valleys, fixings and loft, while the scope of work on the slope depends on the weather and the roof’s usage instructions. Record the result with defect locations and a repair plan so that priorities can be set before winter.
Start with photos and previous defects
Before the inspection, gather information about leaks, repairs and work carried out in summer. Installing an antenna, air conditioning or panels may leave new penetrations and waste. It is worth comparing the current condition with photos from a year ago. A displaced element is then easier to notice.
From the ground you can inspect the eaves line, the ridge and visible flashings. Hanging parts, clear deformations and fragments of covering out of place are worrying. Such symptoms require assessment by a contractor. They should not be checked by climbing onto a wet roof surface.
Gutters and downpipes must take in water
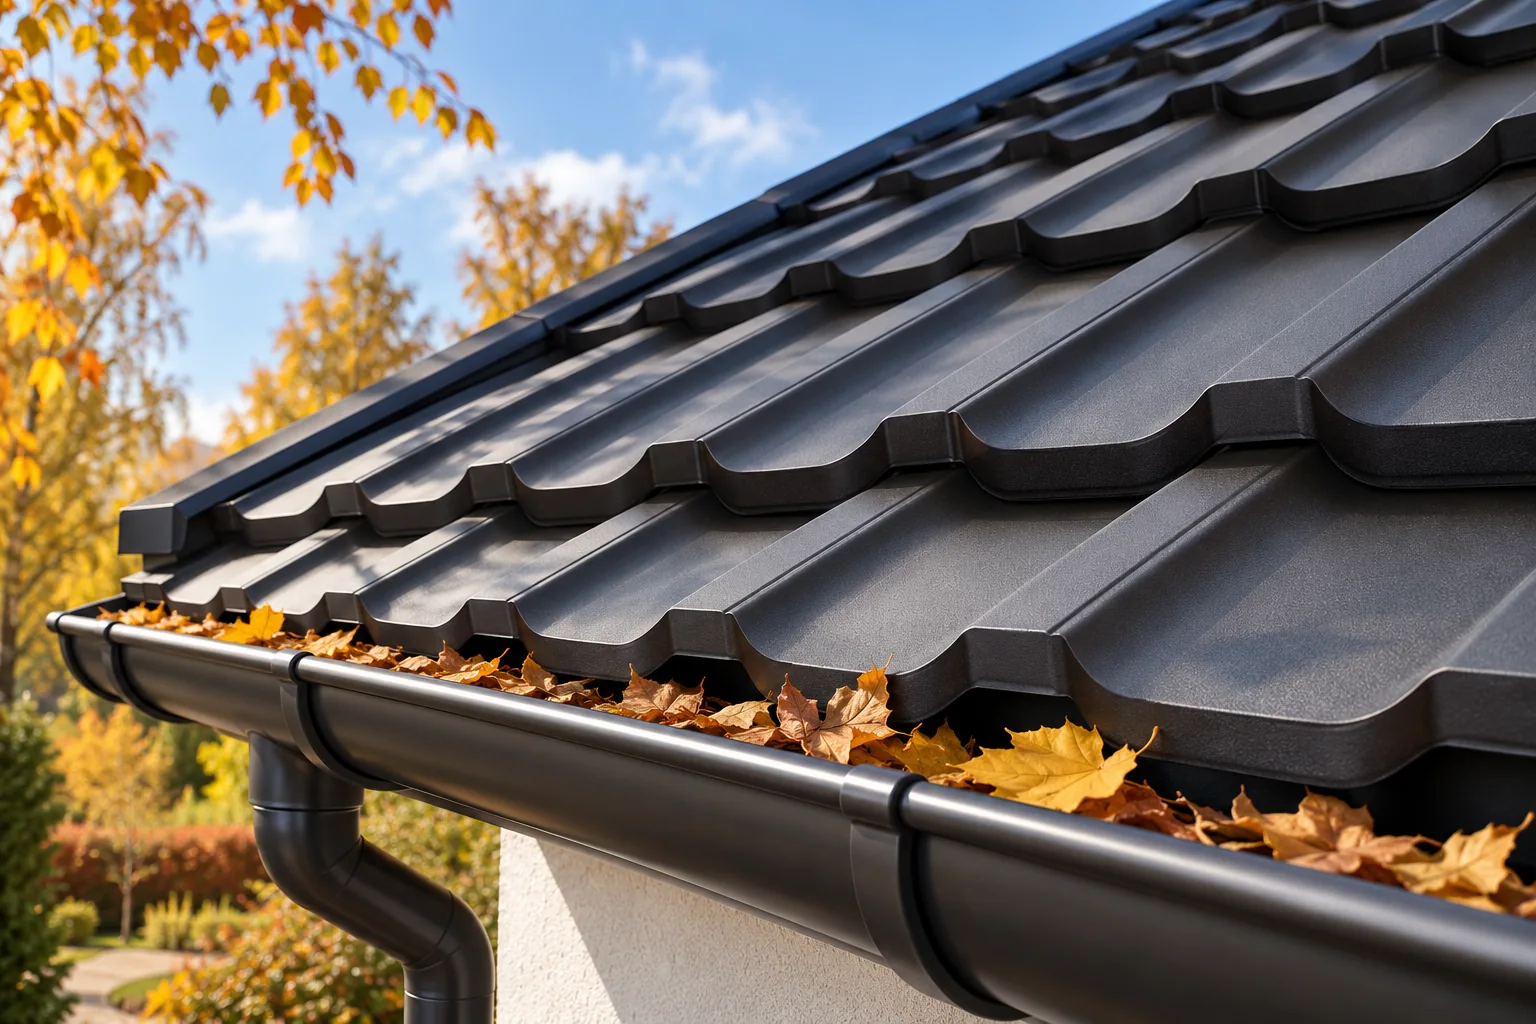
Leaves and small branches collect at the outlets and connectors. Sediment lying at the bottom of the gutter must also be removed. Removing the visible leaves does not guarantee that the downpipe is clear. The inspection should cover the entire drainage path.
After cleaning, the connections, rainwater gullies and outlets are checked. Traces of streaks on the façade may indicate overflow or a leak. Stagnation in one section requires assessment of the fall and the fixings. Freezing of the water will not solve the problem that remained after the autumn cleaning.
Roof valleys and flashings require separate inspection
In the roof valley, water from the adjacent roof slopes collects. Accumulated leaves can narrow the drainage path and keep moisture against the metal sheets. The dirt must be removed without scratching the coating. The connections and the condition of the elements above the roof valley are also assessed.
At the chimney and walls, look for debonded seals, gaps and signs of movement at the joints. Not every gap is repaired with the same compound. Often the flashing or its fixing needs to be improved. First, the path by which water is getting in must be established.
Assess the coating and places after installation work
Drill swarf, cut wires or small metal parts may remain on the covering. As they rust, they create corrosion points on the surface. They must be removed and the condition of the substrate assessed. Rubbing the contamination with a hard brush may increase the damage.
Scratches, flaking and corrosion spots should be photographed with their location noted. The choice of touch-up or renovation depends on the type of coating and the extent of the loss. Before repairing material covered by warranty, the conditions for reporting must be checked. It is not worth hiding the cause with thick paint.

Check the fixings and additional equipment
Loose flashings may move in the wind and damage adjacent parts of the covering. The brackets of roof ladders and snow guards are also to be assessed. It is not enough to check that an element is in place. The substrate and the condition of the connection are what matters.
Do not tighten all screws yourself with the same force. Excessive pressure may destroy the washer or deform the sheet. The contractor should determine whether the problem results from looseness, a damaged seal or incorrect seating in the support.
Look for signs of moisture in the attic
Stains, damp patches in the insulation and dark marks on the timber require clarification. The place of the visible stain need not be directly beneath the damage to the covering. Water may travel through the roof layers. It is worth noting in what weather the symptom appears.
Not all moisture comes from precipitation. Condensation may be connected with humid air flowing in from the interior and inadequate ventilation. Blocking the gap under the covering may worsen the conditions. The repair should correspond to the identified cause, not to the appearance of the stain alone.
Set the order of repairs before winter
First, hazards from loose elements and active leaks must be removed. Then the free flow of drains is restored and damaged details are improved. Work requiring a dry substrate should be planned taking into account the application conditions of the materials.
Not all treatments can be carried out in the cold or on a damp surface. This applies among others to adhesives, sealants and paints. If a permanent repair must wait, the method of temporary protection should be determined by the contractor. A random sheet of foil may be torn up by the wind.
Record the inspection result and plan further maintenance
A short protocol should indicate the inspection locations, defects found and works carried out. Attached photos make it easier to verify the repair. It is also good to record elements that were inaccessible during the inspection. Absence of inspection should not be confused with confirmation of good condition.
Autumn does not replace all other inspection dates. The operating instructions must be observed and action taken after severe weather events. When the trees shed another batch of leaves, the drains may need to be cleaned again. The scope depends on the actual conditions at the house.
7 branches. Materials closer to your project.