Fitting gutters so that rainwater drains off the roof
Gutters and flashings
Whether gutters will efficiently carry water away from the roof depends on sizing the whole system to the roof areas draining to each eaves section, not on the gutter profile alone. Before buying, plan outlet positions, check the substrate for brackets and confirm that the components fit together. Set the fall and the gutter’s position relative to the roof covering edge, allow for thermal movement and keep servicing access. Finally, carry out a flow test and record any observations; where a canopy adjoins a higher roof, allow for water draining from that roof too.

Plan outlets before purchase
First determine the roof areas directing water to individual eaves sections. Roof valleys can concentrate a significant flow in one place. The position of downpipes affects system performance, so it should not result solely from façade symmetry. Also take into account doors, the terrace and the driveway.
Water leaving the gutter needs a planned route. The downpipe can connect to appropriate drainage or a tank. Do not end the design at ground level. Standing water against the wall can cause problems even though the eaves and gutter themselves work correctly.
Where canopies adjoin a higher roof, check whether some water also flows from its slope. A gutter sized only for the lower canopy may then operate at a higher flow than assumed. The outlet position of the roof valley also matters, where the flow is concentrated over a short eaves section.
Choose matching system components
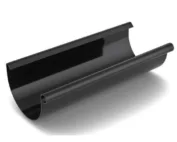
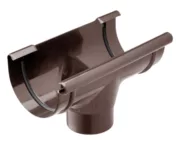
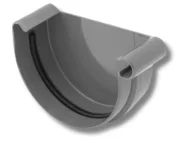
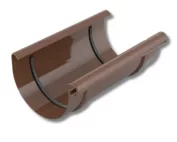
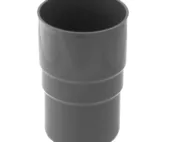
The gutter, brackets, connectors, corners and outlets should be compatible with one another. Similar width does not prove compatibility. Differences in edge profile and seals can make installation difficult or cause leakage. This also applies to mixing parts that look similar in photographs.
Steel and PVC have different rules for joining and for compensating length changes. The required installation clearances and the permitted working temperature must be known. Do not add adhesive to every joint just in case. In some connections it will block the movement that is needed for correct operation.
Check the substrate for hooks
Before fixing, assess the condition of the fascia board, rafter or other intended support. A gutter with water and debris transfers load to the building. Screwing a bracket to weakened timber will not ensure durability. The bracket type must match the actual substrate.
Bracket spacing and support at corners and outlets are taken from the instructions. There is no single distance for every material and cross-section. The hooks should form a planned line. It is better to set the height difference by measurement than to assess it from below after all sections have been installed.

Set the fall and position relative to the eaves
The gutter should carry water to the outlet without backfalls. The required fall depends on the system. Even a slight local depression can retain sediment and water. A long run should be checked at several points, not only at its ends.
The height of the gutter relative to the edge of the covering is important. Water must reach the inside, even during heavy runoff. At the same time, the gutter must not act as an accidental barrier for sliding snow. Snow guards are designed separately, taking into account loads and fixing to the roof.
Leave room for expansion
Gutter sections change length with temperature. Joints must allow movement within the range specified by the manufacturer. Closing the system too tightly can cause buckling, leakage or deformation of the hooks. The error often only becomes apparent when the season changes.
Ensure the seals are correctly positioned and the joint surfaces are clean. Sand or filings can prevent the joint from closing. Equally important is the correct execution of the outlet hole. A jagged edge, too small a cross-section or leftover material fragments will restrict water drainage.
Fix the pipes and keep service access
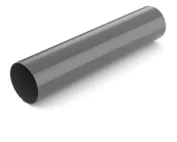
Downpipe clamps are fixed to the appropriate part of the wall, taking into account the thickness of the insulation. The insulation layer alone is not a structural substrate. The length and type of fixing must match the wall material and the geometry of the bracket. Also check the distance of the pipe from the façade.
The connection to the rainwater gully should allow it to be opened and emptied. Do not conceal the inspection opening under permanent cladding or in the ground layer. For a rainwater tank, plan an overflow for when it fills. A full tank must not stop drainage from the entire roof.
Carry out a test and record your observations
After installation, remove waste and then check the flow with a small, controlled amount of water. Inspect the joints, corners and the position of the outlets. Such a test will reveal obvious leaks and backfalls. However, it does not replace a performance calculation for heavy rain.
Keep the system instructions and set a date for the first inspection. Gutters require removal of leaves and sediment, especially near trees. If the system overflows despite being clear, check its sizing and geometry. Adding sealant alone will not solve a problem with inadequate performance.
7 branches. Materials closer to your project.