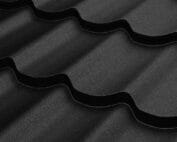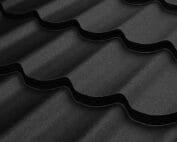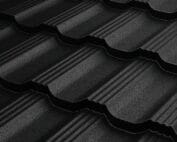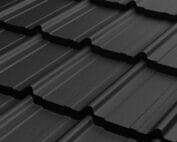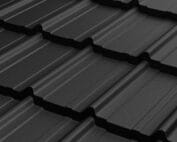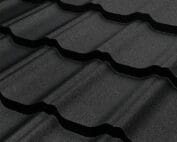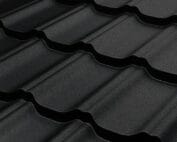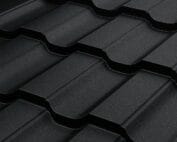
What needs checking before you fit modular tile-effect roofing sheets?
Tile-effect metal roofing
The key to correct installation of modular metal roofing tiles is to check the roof slope and the instructions for the specific model beforehand. It is worth verifying the roof pitch and the scope of application of the chosen covering, as well as establishing the effective area of the module, the necessary flashings and the types of fasteners. Drawing out the valleys, chimneys and service penetrations allows the material list to include details, not just the number of sheets. Before the substrate is covered, the battens, eaves and ventilation should be inspected, because later corrections are more difficult. The small format makes work easier but does not forgive every mistake.
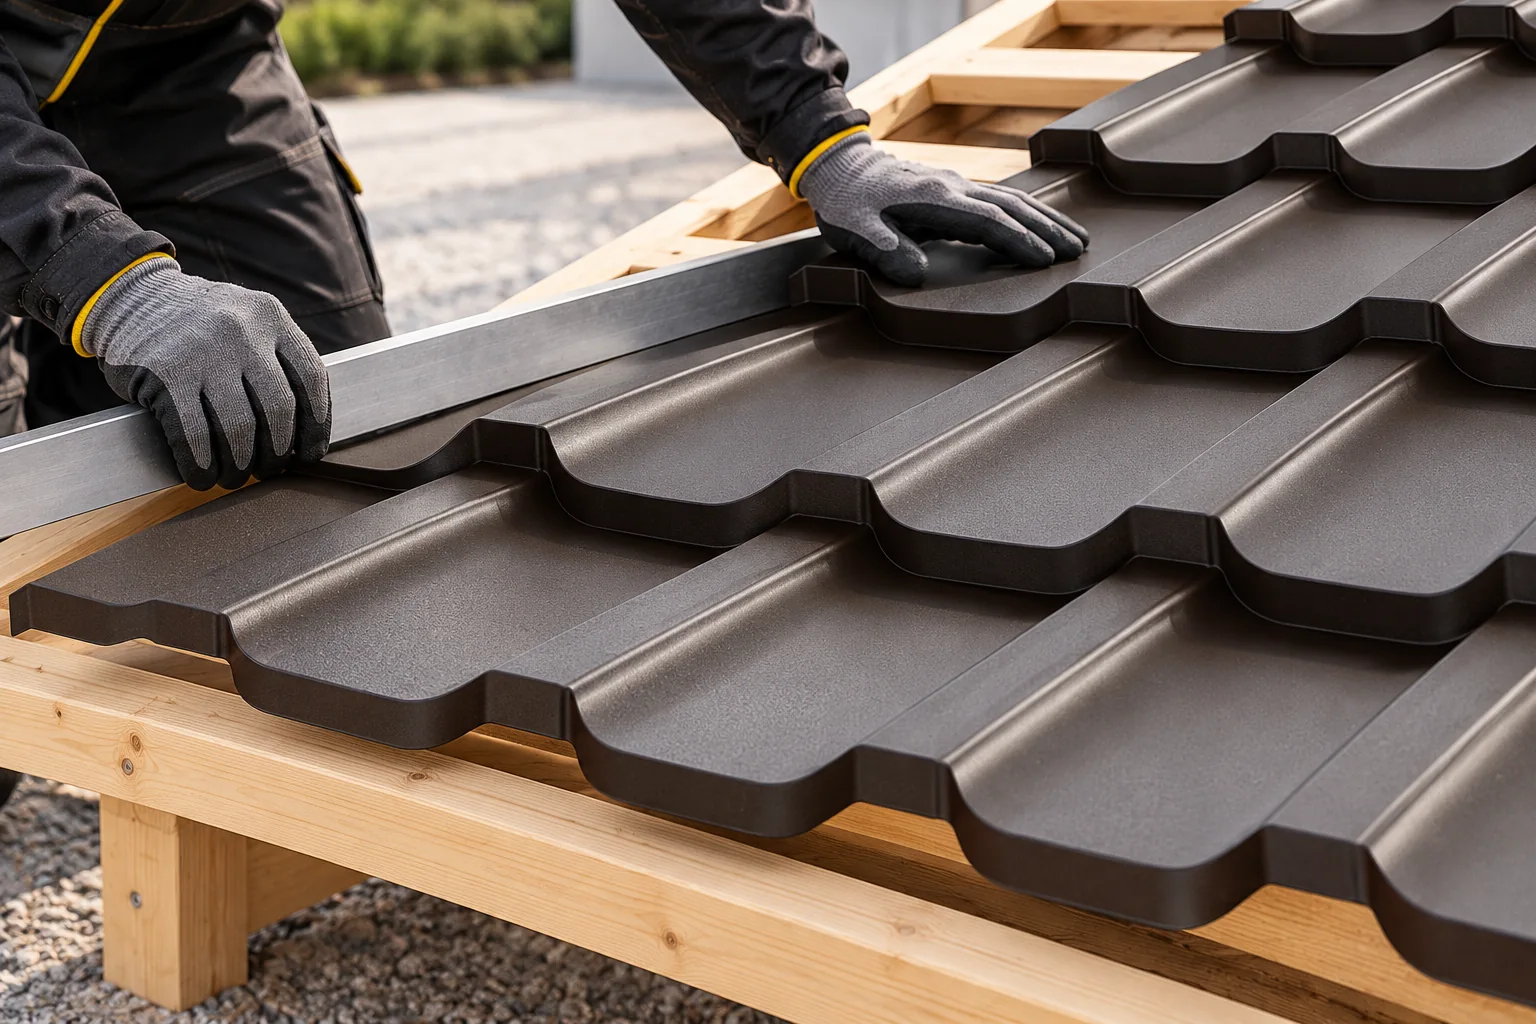
What should you check before ordering and unloading?
Verify the roof pitch and the scope of application for the chosen covering. Determine the effective area of the module, the required flashings and the types of fasteners. Draw out the roof valleys, chimneys and service penetrations. This ensures the material list covers the details, not just the number of sheets matching the roof area.
On delivery, check that the markings, quantities and condition of the coating match. The sheets must be stored dry and well ventilated, in accordance with the instructions. Do not drag one module over another. Damage caused during unloading can later impair the appearance and surface protection, even if the covering is laid correctly.
How do you prepare the structure and the underlay?
Before installation, check the plane of the roof slope, the diagonals and the straight line of the eaves. The substructure should provide support at the points intended for the given model. The fixing of the battens and counter-battens must also be checked. Unevenness of the substrate should not be compensated for by tightening the sheet with screws.
The underlay requires correct connections and water drainage. Penetrations through it should be prepared before the metal sheet is laid. At the same time, it is worth documenting the places that will not be visible later. Photos do not replace acceptance, but they help retain information about the installed layout.
Why is the setting out of the battens so important?
The repeatable batten spacing results from the geometry of the covering. The dimension must be measured in accordance with the drawing of the specific system. Not every tile-effect metal roofing sheet has the same module length. Even with a similar appearance, the position of the screw and the method of edge support may differ.
The eaves zone often requires separate setting out. The first spacing does not have to correspond to all subsequent ones. Before further installation, it is worth checking the position of the first modules relative to the gutter and flashings. At this stage, correcting a mistake is simpler than after several full rows have been completed.
How do you maintain ventilation of the covering?
In a ventilated system, air should have a path from the eaves to the ridge. Suitable inlets, a gap and outlets are needed. Elements protecting against insects or wind-blown precipitation must work with this function. All openings must not be closed simply because they are visible from beneath the covering.
Chimneys, windows and other obstacles can interrupt the flow. Their surroundings require a detail provided for in the design. Equally important is the airtightness of the layers on the heated interior side. Ventilation beneath the metal sheet and control of water vapour in the assembly have different tasks that should be resolved together.

How should the modules be laid and screwed?
The direction and sequence of installation are read from the instructions. First, the elements must be aligned to the reference line and their fit checked. The connection must not be forced by excessively stretching the sheet. The embossings and edges must align as intended by the product design.
Fasteners securing to the battens differ in function from those that stitch the sheets together. The appropriate type, length and spacing must be used. The pressure of the sealing washer must be correct, without crushing it. The roof edge zones may require a different fastener arrangement than the middle of the slope, in accordance with the design.
How should cuts and flashings be made?
Coated metal sheet is cut with suitable cold-cutting tools. An angle grinder is unsuitable because heat and sparks damage the protective layers. After cutting and drilling, remove swarf with a soft brush. Handling of edges and minor damage should comply with the coating requirements.
Roof valley, chimney and wall flashings must direct water away from sensitive areas. Their shape must not result solely from the need to cover the gap. Also determine the fixing points so as not to create unnecessary holes in the drainage zones. A good detail retains its function under thermal movement of materials and precipitation.
What should the final acceptance cover?
Inspect the surface, connections and completeness of the flashings. Check that installation residues have been removed and that drainage remains clear. Verify the execution of ventilation elements and the provisioned service access points. Assessment of locations at height must be carried out with appropriate protection.
Keep the material documentation and the user instructions. Establish the inspection regime and the procedure after damage is noticed. If an installation is to appear on the roof, its mounting must be coordinated with the completed covering. Correctly laid modules later require use that does not damage their connections and coatings.
7 branches. Materials closer to your project.