Ordering trapezoidal steel roofing: from roof measurements to sheet sizes
Sheets and roofs
Begin by establishing what function the trapezoidal sheet is to serve: whether it will be external cladding, wall lining, or a load-bearing element of another system. This determines the choice of profile and documentation. Next, check whether the building is heated and where moisture may come from, and plan for rooftop equipment and point loads. Prepare a sketch with dimensions of the roof slopes, eaves, ridges and pitch. In an existing building, check the plane and condition of the supports. Remember that T18 and T35 designations do not define a single geometry – verify height, rib pitch and coverage width.
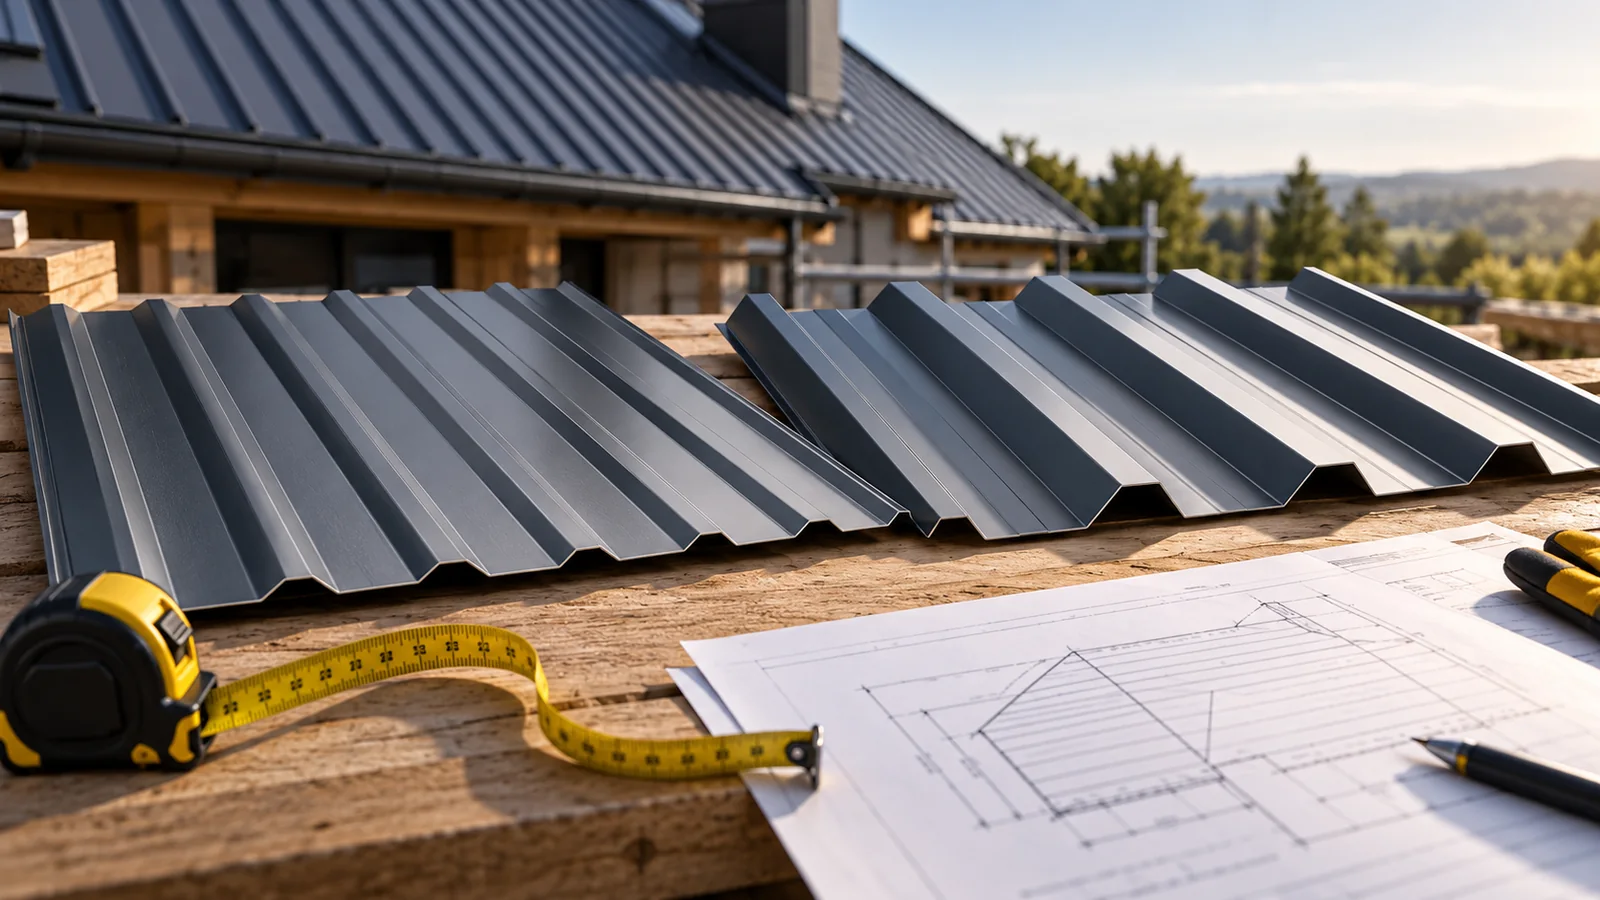
First define the task of the roof or façade
Determine whether the steel sheet is to be the external covering, a wall cladding or a load-bearing element of another system. This affects the choice of profile and documentation. Note whether the building is heated and where moisture may come from. In a workshop or agricultural building, the conditions from below may differ from those in an ordinary open shelter.
Also define the planned equipment on the roof. Installations, penetrations and any point loads must be planned before purchase. It should not be decided only after installation where openings can be cut or brackets fixed. For structural use, calculations for the whole solution are required, not just information about the trapezoidal height.
Measure every roof slope and mark the details
On the sketch, give the length of the eaves and ridges, the dimensions along the slope and the pitch. Mark the roof valleys, corners, chimneys and junctions with walls. For rectangular areas, check the diagonals. The data should correspond to the actual covering scope, taking into account the agreed overhangs and terminations.
In an existing building, check the plane of the supports and their condition. The dimensions of the old material are not always a good model for a new roof. A change in flashings or the eaves may change the required sheet length. If you are unsure, the measurement should be confirmed by the installer. Correcting the sketch before production is easier than replacing finished sheets that are too short.
Choose the profile on the basis of the documentation
T18 and T35 are popular families of coverings, but their designations do not define a single geometry. Check the height, rib pitch, covering width and the side of the coating. For calculations, tables of the effective cross-section and thickness are used. Load-bearing capacity cannot be transferred from another sheet with a similar name.
The support and fixings must correspond to the loads. The design takes into account snow, wind and the weight of the layers. Sealing conditions, including the minimum pitch, are checked separately. A higher profile does not remove the requirements for laps and drainage. If a structural trapezoidal sheet is required, its selection requires an appropriate structural scheme and connections to the structure.

Prepare the cutting plan and the sheet list
Assign strips to each roof slope according to the effective width. Count their number and lengths. For hips and valleys, check the cuts and the possibility of using the remaining offcuts. Take into account the profile direction and the overlap edge. An offcut that looks similar to the missing field cannot always be correctly installed.
Long sheets reduce the number of joints, but they are not always the most convenient. Transport, unloading and lifting onto the roof without deformation must be ensured. When dividing strips, determine the transverse joints in accordance with the instructions. The list should include the slope designation, length and number of pieces. A document prepared in this way makes delivery checks and the crew’s work easier.
Agree the coating and full equipment
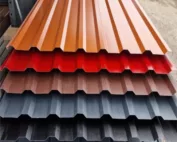
Select the protection to suit the environment and the appearance of the building. The colour, gloss and texture should be unambiguous. Check the underside of the sheet, especially under an open canopy. If an anti-condensation layer is specified, confirm its scope and the preparation of the edges. Do not treat it as a substitute for thermal insulation.
Include flashings, sealants, ventilation components and fasteners. For fasteners, state the type and the thickness of the substrate. Made-to-measure flashings require a cross-section with dimensions, angles and the decorative side. Determine who supplies each element. Parts described generally as ‘roofing accessories’ are easily overlooked when the order is handed over between the seller and the contractor.
Compare the price for the same scope
Check the billing units. The price per m² of the total area is different from the price per m² of coverage. A price per linear metre must be converted according to the sheet width. Do not compare net prices with gross prices. Quotes should relate to the same lengths, coating and thickness and to an identical delivery location.
Record flashings, accessories, transport and unloading separately. Determine the validity period of the offer and the production conditions. If a variant is available only to order, it may have a different lead time from stock material. A small difference in the price of sheets can become insignificant with two additional deliveries of missing elements. It is worth checking the completeness of the set before final confirmation.
Prepare for acceptance and storage
There must be space on site for the safe support of the packs. The material must be protected from precipitation and allowed to ventilate. Wet sheets should not be left closed in the pack. During acceptance, compare the labels, quantity and condition of the edges with the specification.
Document visible damage before installation. Keep the cutting plan, the instructions and the batch data. After the roof is completed, swarf is removed and the joints, flashings and water drainage are checked. Subsequent inspections are also part of correct use. By organising these stages, the choice of sheet becomes a concrete order whose parameters can be checked at every stage.
7 branches. Materials closer to your project.