Why does a metal roof leak? Eight places to check
Sheet metal and roofs
A leak under a metal roof can come from a loose joint, damaged flashing or condensation of water vapour. The location of the stain does not always indicate where the water enters. First establish when the moisture appears. Then check the eight areas described below. This order limits random repairs and helps distinguish a covering fault from a problem with ventilation or the layers beneath it. Note the weather and the time when the moisture occurs. A leak during rain from a particular direction may indicate a faulty lap or flashing. Droplets over a large area on the underside of the sheet metal after a cool night suggest condensation. These are clues, not a certain diagnosis.
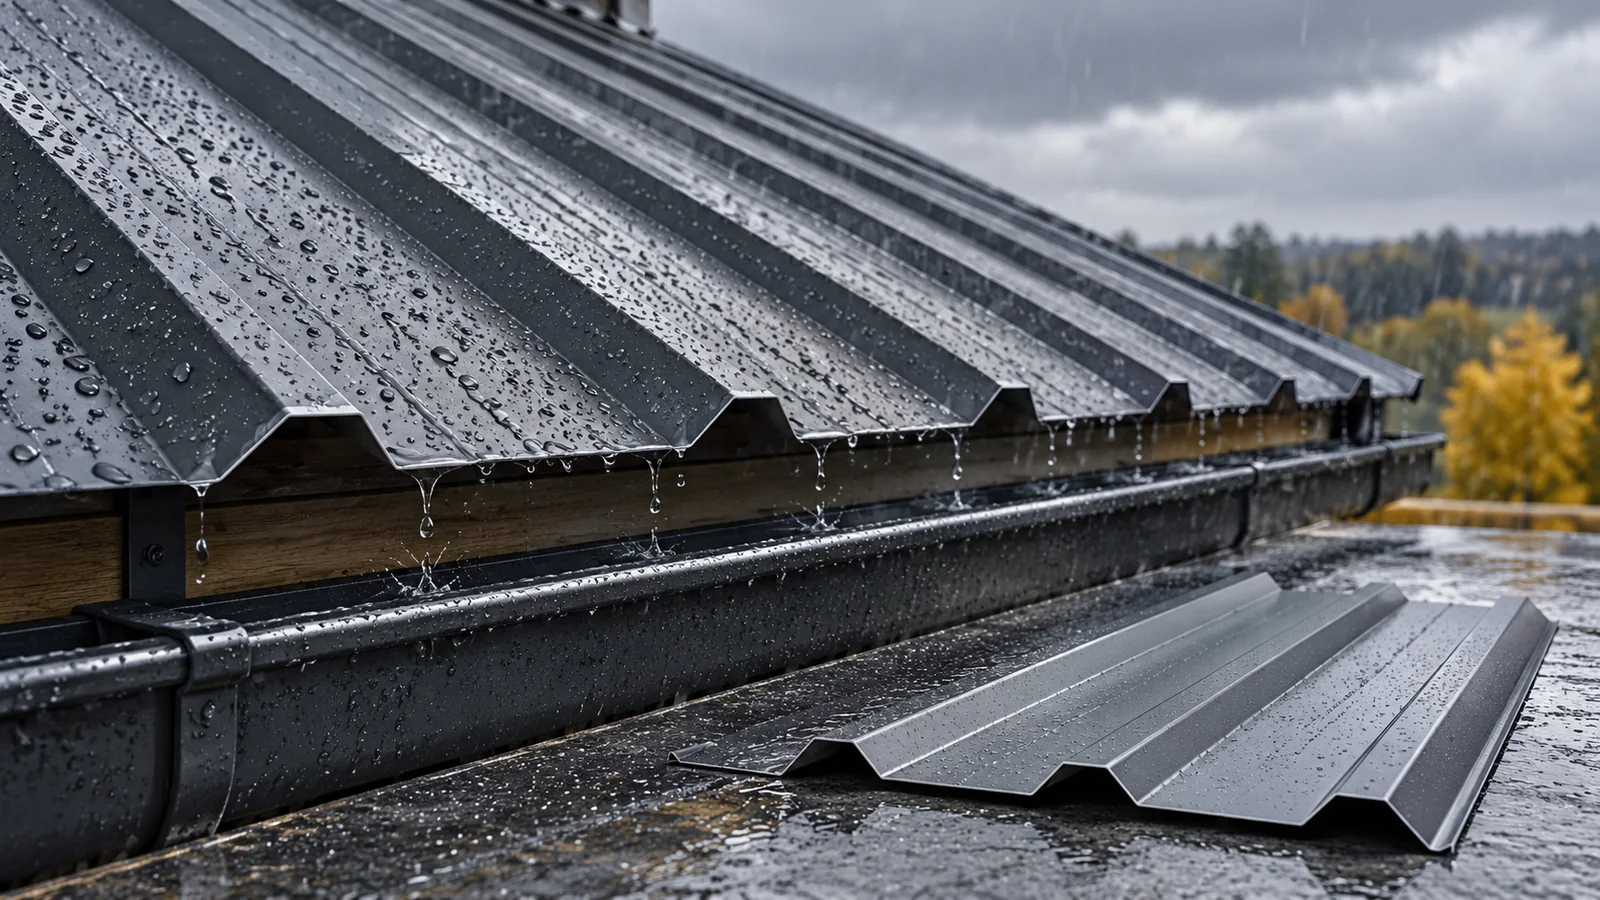
How to determine whether it is a leak or condensation?
Note the weather and when the moisture appears. A leak during rain from a particular direction may point to a faulty lap or flashing. Droplets over a large area on the underside of the steel sheet after a cool night suggest condensation. These are clues, not a certain diagnosis. Both phenomena can occur at the same time.
An inspection from the attic is often more reliable than the stain on the ceiling alone. Water can run along the membrane or a roof structure member far from the point of damage. It is worth photographing wet traces before they dry. The external check should be carried out by a roofer with suitable protection. Wet steel sheet is not a safe place for do-it-yourself attempts.
When reporting the problem, also give the age of the roof and the date of the last work. A new leak after installing an antenna or panels may require checking that very zone.
Places 1 and 2: fastenings and sheet laps
The first point is the screws and their seals. A fastener driven in at an angle, under-tightened or over-tightened may not seal the hole. The washer should work as intended. Flattening it to the limit does not improve tightness. The wrong fastener for the given substrate can also be the problem.
The second point is the side laps and longitudinal joints. Their direction, length, support and required sealing are checked. The sheet must not be accidentally lifted at the joint. Too small a pitch or deflection of the roof slope encourages water to stand. Additional weight on top of a poorly made lap does not correct the faulty geometry of the joint.
Places 3 and 4: chimney and roof valley
At the chimney, the inspection covers the apron on the eaves side, the sides, the ridge side and the upper closure of the flashing. Water can enter behind the steel sheet through a damaged connection to the masonry. Cracks in the chimney itself can also be the cause. Re-sealing the edge alone will not help if the masonry above it is wet.
The roof valley collects water from two adjacent roof slopes. Leaves, snow and too narrow a gap between the coverings restrict drainage. The ends and laps of the valley steel sheet and the fixing points must be checked. An unnecessary drilled hole in the water-carrying part creates additional risk. Assessing the valley is best combined with checking the underlay.

Places 5 and 6: ridge and side edges
An unsealed ridge can let in water driven by wind. It is important that the ridge tile and the sealing-and-ventilation elements match the covering profile. Completely blocking the gap with random foam may reduce wind-driven rain, but at the same time block the necessary ventilation. The repair must preserve both functions of the detail.
On the sides of the roof slopes, barge boards and wall flashings are checked. Too small an overlap, damaged fastenings or a loose edge allow the wind to pry the joint open. Corners require particular attention. In these zones, wind loads may be greater than in the middle of the roof. Adding a few random screws does not replace a correct fastening layout.
Points 7 and 8: damage and the layers beneath the covering
The seventh point is the condition of the sheets. Look for abrasion, corrosion, cracks at holes and damage from installation work. Swarf left after drilling can rust on the coating. Ventilation penetrations and equipment fastenings also require inspection. Every new penetration of the roof should have a proper detail.
The eighth point covers the membrane, vapour barrier and ventilation. A torn membrane will not drain water that has got under the covering. A leaky vapour barrier can bring moist air from the interior. A blocked ventilation channel makes drying difficult. With such a setup, even replacing all the screws will not remove the cause of the dampness.
How do you plan a repair so the problem doesn’t come back?
First, the symptoms are documented and the cause determined. Then the damaged element is repaired in accordance with the covering system. This may mean replacing fasteners, improving the flashing, restoring the membrane or clearing the ventilation. Wet insulation and timber require a separate assessment. Removing the leak does not mean that the assembly is already dry.
After the repair, a check during subsequent rainfall is needed. It is also checked whether moisture persists after rain-free nights. Keep photos and a description of the work carried out. In the case of a larger renovation, they will help assess which sections have already been repaired. A good inspection ends with determining the cause and the method of monitoring, not just covering the entire joint with sealant.
If the roof is covered by a warranty, agree the scope of the repair in accordance with its terms. Keeping documentation makes it easier to assess the problem and helps avoid accidental changes that could hinder later acceptance.
7 branches. Materials closer to your project.