Preparing a realistic visualisation of a photovoltaic roof
Roof and energy
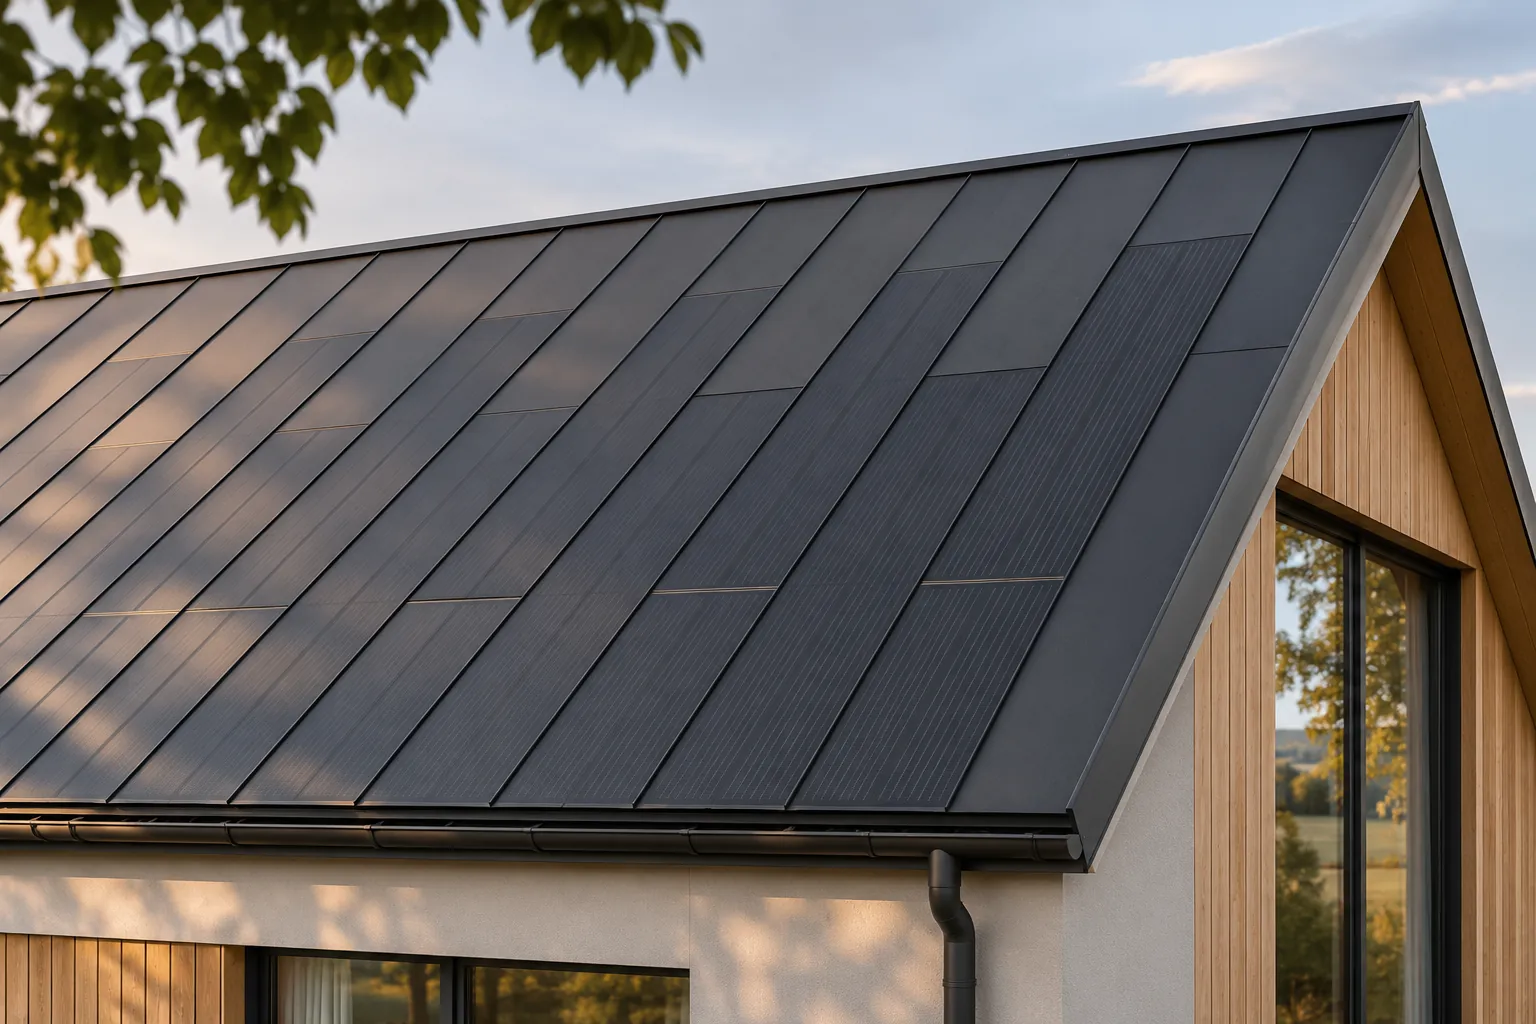
A good visualisation of a photovoltaic roof should help with the decision rather than conceal the limitations of the system. It must show the actual formats, the divisions, the passive zones and the necessary flashings. In steel BIPV, a compact form without a separate mounting frame above the roof surface is important. However, this does not mean a uniform black surface without joints. The image should be based on the documentation of the specific solution and on the correct geometry of the building. The basis is the dimensions of the roof surface, its pitch and the position of chimneys, windows and penetrations. For an existing house, photographs and an up-to-date survey will also be needed. A plan from an old project alone may not account for later changes. The visualisation should relate to the actual building, not to a house that is similar only in its general shape.
In this article
What data is needed before creating the image?
The second group of data covers the formats of active and passive elements and how they are laid out. Use the current documentation for the chosen system. Do not invent new widths or seams just because they fit the image better. Realism starts with geometry, and only later with light and surroundings.
Why must passive zones be shown?
Not every part of the roof will generate energy. Some of the surface closes edges, areas around obstacles or less favourable zones. In steel BIPV, passive elements can maintain a consistent character across the roof slope. Their presence is an advantage of the system, because it allows the energy function to be matched without an accidental appearance.
Hiding these zones with a uniform texture leads to unrealistic expectations. The client should know where the cells are and how they may differ visually from the rest of the covering. A clear image helps link appearance with the quote. It also shows whether the proposed number of active elements actually fits on the roof.
How to represent the material without exaggeration?
Surfaces should have the correct proportions, texture and moderate light reflection. It is not worth turning the cells into a mirror-like sheet if that does not match the actual product. Nor should all reflections be removed to achieve perfect black. The material should be presented under conditions that can occur in normal use of the house.
Photos of real installations and catalogue drawings help. It is worth checking how the connections and terminations look from a similar distance. The visualisation should not show non-existent seams, additional rails or arbitrary embossings. Technical credibility is more valuable than a striking detail that has no counterpart in the system.
From which viewpoints should the roof be shown?
At least one view is needed from which the house will most often be seen. This may be the street, the driveway or the garden. If the roof slope is visible from higher windows or the terrace, it is worth adding that perspective. One favourable angle does not show the whole effect, especially with a complex building form and different activity zones.
It is good to keep a realistic focal length and observer height. Too wide an angle can change proportions, and a shot from a great height hides the everyday view of the house. The image should make it easier to compare variants. It should not require the client to imagine how the effect would look without graphic embellishment.
Can a visualisation confirm the roof’s performance?
No. It shows the appearance but does not replace a solar exposure analysis or the electrical design. Even a correct image of the active fields does not provide a basis for promising specific output. That requires separate calculations with stated assumptions. It is worth clearly separating the aesthetic function of the visualisation from the energy data in the offer.
Likewise, it does not confirm weathertightness, load-bearing capacity or compliance of the installation. These matters follow from the documentation and the execution. However, the image can help identify clashes and inconsistencies in the layout. It is a useful discussion tool if it remains linked to the technical drawing and the actual scope of the order.
How can the image be used when approving the design?
It is worth comparing the visualisation with the roof plan and the list of components. Check the number of fields, the locations of flashings and the position of obstacles. If the view has been changed, make sure that the drawing and the quote correspond to the same version. This prevents three different pictures of the investment arising in different documents.
A realistic visualisation clearly shows the advantage of BIPV: combining energy with an orderly roof covering. It does not need invented products or hiding of technical parts. The best image allows the actual roof to be consciously accepted. Then, after installation, the client recognises the chosen design instead of discovering differences between the graphic and the material.
Players in the photovoltaic roofing market include SoliTek, Electrotile, Megasol Energie, SunRoof, SolRoof, Autarq, MDM NT (MyRoof), LUMA Solar, Wienerberger Wevolt and ML System.
7 branches. Materials closer to your project.

- SEROCK — Dzierżenin 34 E
- BŁONIE — ul. Sochaczewska 138A
- RADOM — ul. Grobickiego 8
- ŁÓDŹ — Natolin 8
- OLSZTYN — Barczewo, ul. Prosta 9
- WROCŁAW — ul. Jerzmanowska 10C
- GORZÓW WLKP. — ul. Zielona 33/34