How do you flash a chimney on a trapezoidal steel roof?
Sheet metal and roofs
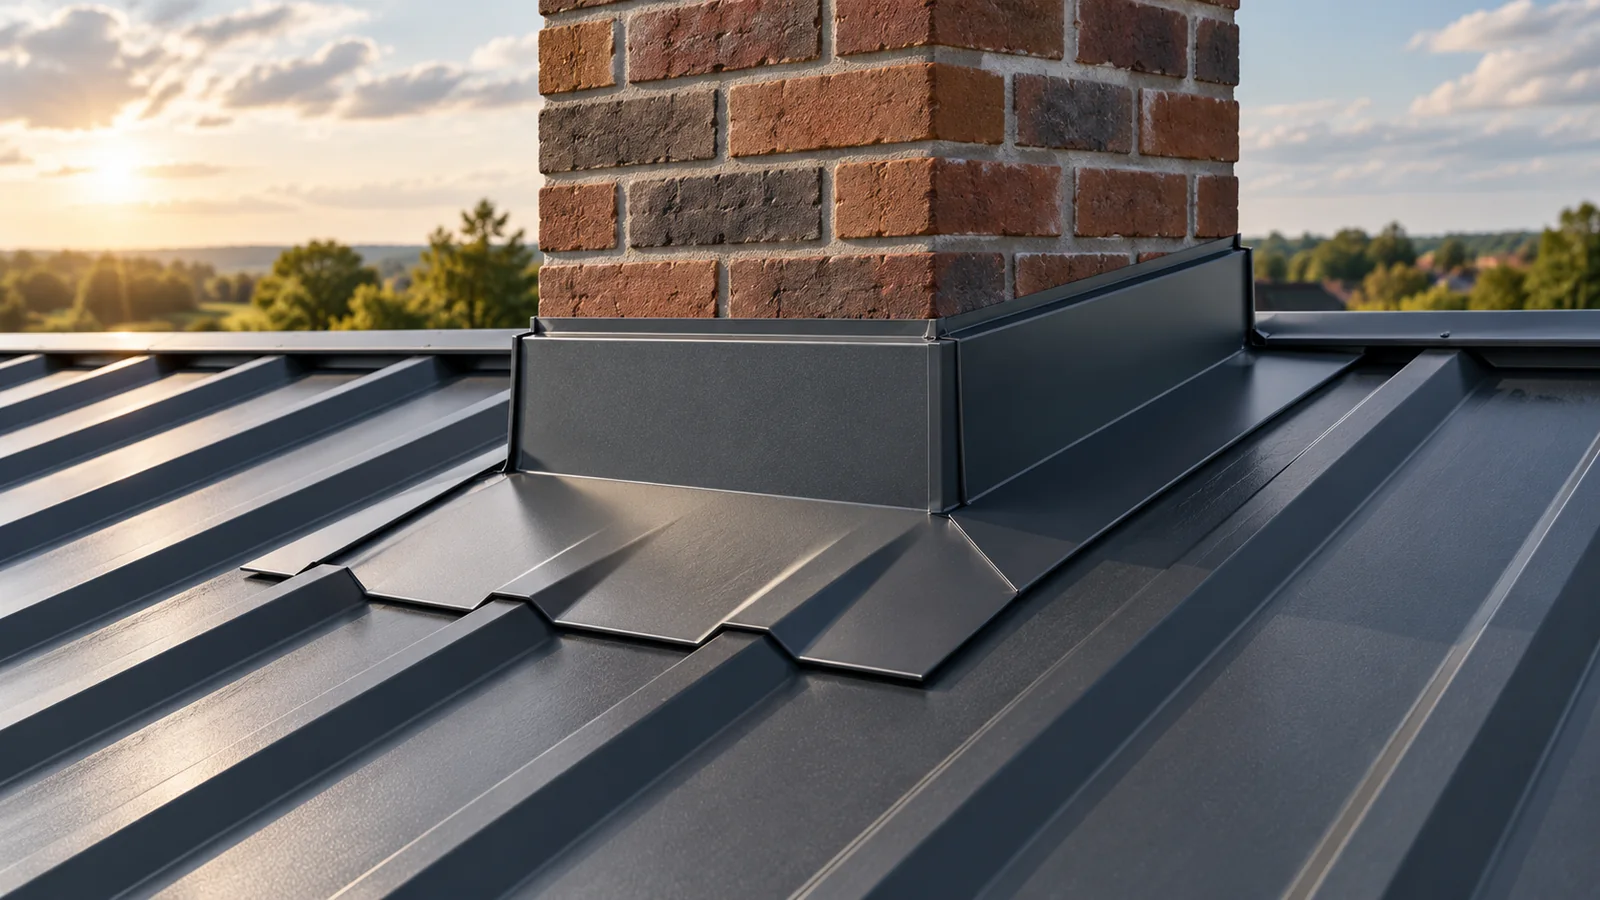
A watertight chimney flashing must direct water onto the roof covering and close off its path behind the sheet metal. The arrangement of the aprons, the connection to the chimney and the underlay layer are what matter. Sealant alone does not replace these elements. The detail is selected according to the chimney’s position on the roof slope, the height of the trapezoidal profile and the chimney’s construction. Particular care must be taken with prefabricated system chimneys, which must not be cut arbitrarily. Measure the width and length of the chimney and the distance from the ridge. Check the roof pitch, the sheet profile and the condition of the substrate. A chimney located close to the ridge requires different water management than a wide chimney in the middle of a long roof slope. Behind its upper wall, a larger stream of rainwater and sliding snow may accumulate.
What should be checked before preparing the sheet metal?
Measure the width and length of the chimney and the distance from the ridge. Check the roof pitch, the sheet profile and the condition of the substrate. A chimney close to the ridge requires different water management than a wide chimney in the middle of a long roof slope. Behind its upper wall, a larger stream of rainwater and sliding snow may accumulate.
Also assess the masonry and render. A crumbling substrate will not provide durable fixing for the flashing strip. Repairing the flashing will not solve the problem of water penetrating through cracked chimney walls. During renovation, it is necessary to establish whether the current traces come from precipitation or from the chimney installation. In the second case, an assessment of the flue itself and its operating conditions is needed.
How should the lower apron and side flashings be laid?
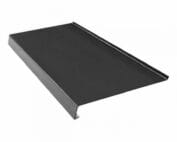
The lower apron directs water onto the outer surface of the sheet on the eaves side. Its shape must be adapted to the profiles. It must not form a pocket in which water stands. The joints of successive parts should work in accordance with the direction of flow, maintaining the overlaps provided for in the adopted detail.
The side elements take up water flowing along the chimney walls. They must work together with the covering profile and the lower apron. The widths of these flashings are not selected solely according to aesthetics. The required space depends on the course of the ribs and the edge solution. Cut sheets at the chimney should have stable support. Sealing must not rely on a bending, loose sheet.
When fitting the apron, the entire ribs of the covering should not be flattened. Such intervention changes the geometry and may damage the coating. If the finished element does not fit, its design must be corrected or the proper solution applied, instead of forcing a connection.
Why is the rear part of the flashing so important?
On the ridge side, water meets an obstacle. The flashing must take over this stream and direct it to the sides. If the section to the ridge is short, it may be possible to make an apron led under the ridge flashing. In another arrangement, a correct connection with the covering above the chimney is needed. The choice should not be made without viewing the roof slope.
For a wide chimney, a separate water-dividing element may be needed. Such a solution should result from the detail design. A flat sheet slid behind the chimney will not always ensure drainage. Its slope, support and the point of water discharge must be taken into account. Leaves left in this area easily restrict the flow even of a well-made system.

How should the flashing be connected to the chimney wall?
The top edge should be protected against water running down the masonry. For masonry chimneys, this includes, among other things, flashings set into a prepared groove or a suitable arrangement of battens. The method of fixing and sealing must be suited to the substrate. Roofing mastic serves a supplementary function and does not replace mechanical fixing.
The chimney and roof may move differently under the influence of temperature and structural movement. The detail should therefore allow for these movements. A rigid connection of both elements encourages cracking at the junction. For a system chimney, the requirements of its documentation apply. The casing must not be cut and components must not be fixed at random locations. This also applies to maintaining the required distances from flammable materials.
What about the membrane and seals under the steel sheet?
The underlay also needs continuity where the chimney passes through. Water that gets under the covering should not penetrate the insulation or the timber. The membrane is laid and sealed according to the solution adopted for the roof and chimney. Repairing the visible flashing without checking this layer may leave a hidden path for leaks.
Profiled seals, tapes and mastics are selected according to the material and the operating temperature. Not every tape adheres equally well to dusty masonry and rough coatings. Surface preparation and application conditions are important. Bonding on a wet or excessively cold surface may weaken the joint. The instructions for the specific product define the permissible conditions, not the name “roofing” alone.
How to accept the finished flashing?
Before completing the work, check a few things with the contractor:
- water has a clear drainage path from every side of the chimney;
- the laps are not directed against the flow;
- the edges and fixings are stable, without unnecessary holes in the water path;
- the top junction is permanently protected;
- the membrane and the components under the covering have been correctly connected.
Ask for photos of the layers before they are covered. Remove swarf and cutting remnants from the roof. The next inspection should cover how the detail performs after rainfall. During the annual inspection, dirt behind the chimney must be removed and the condition of the seals checked. This is a detail that requires inspection throughout the roof’s service life.
7 branches. Materials closer to your project.