What is a roof valley and how do you keep it watertight?
Gutters and flashings
Whether a roof valley stays watertight depends above all on a correctly shaped drainage path, not on the appearance of the visible strip alone. The building owner and the contractor should jointly check that the width and shape of the flashing match the catchment area, the roof pitch and the ease of clearing debris. Support, continuity of the underlay and the way sheets terminate at the valley are equally important. This article explains these relationships and the consequences of narrowing the detail too tightly for water flow.
Where does a valley occur and why is it a heavily loaded location?
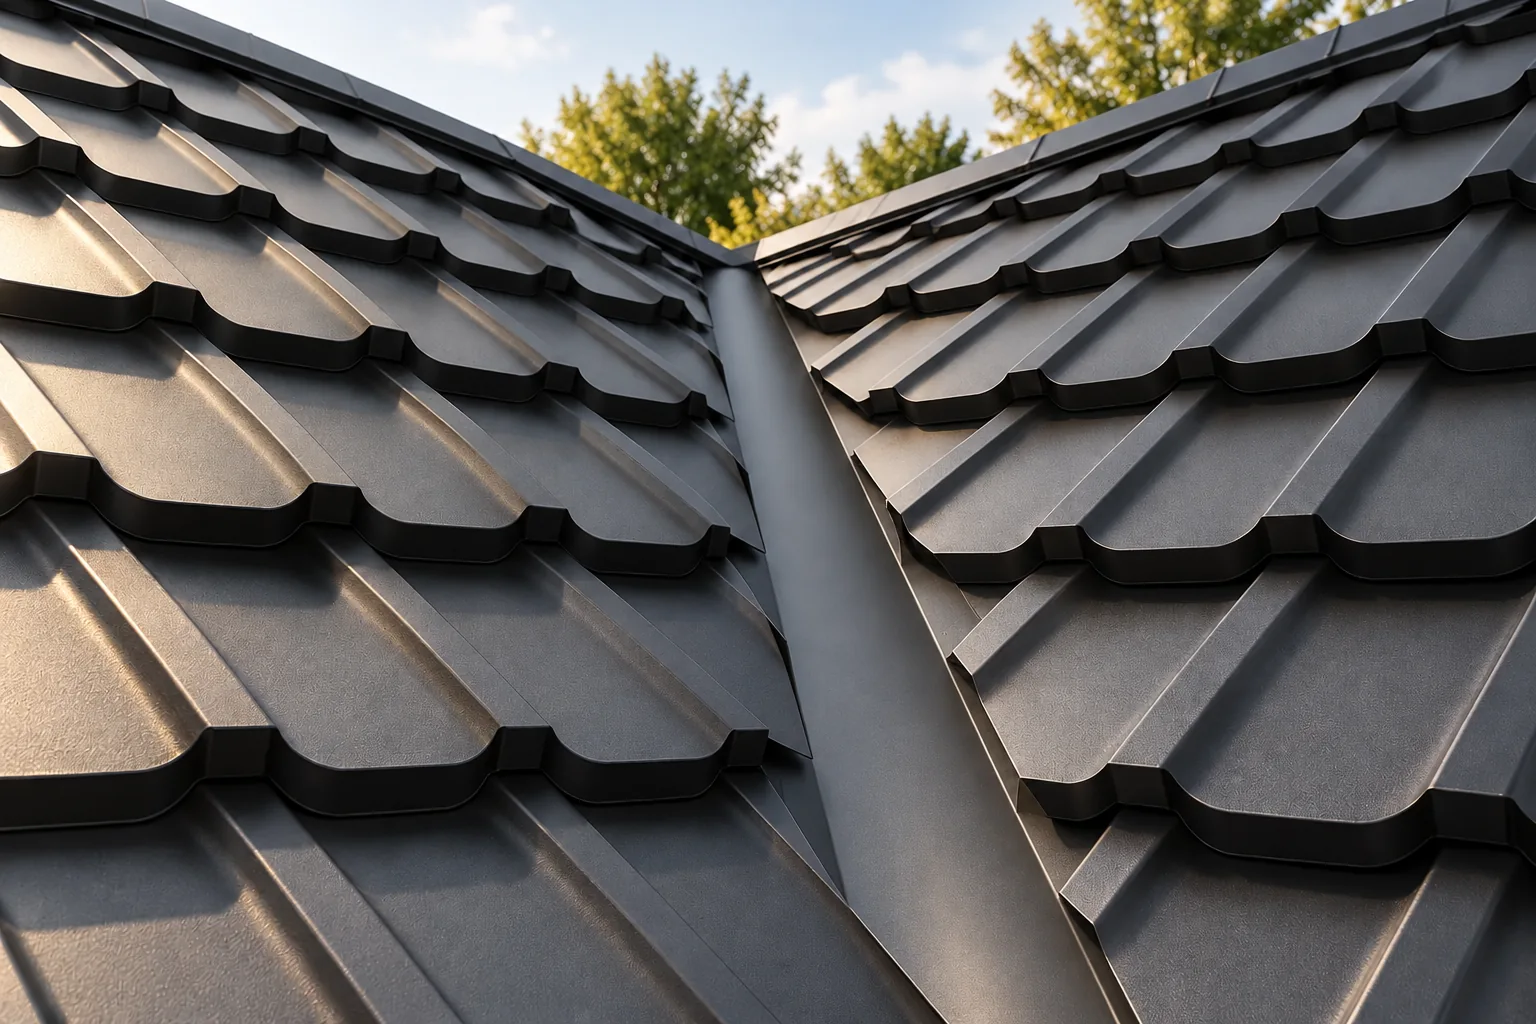
A roof valley occurs where roof slopes meet at a concave angle. This may be the junction of the main roof volume with an extension, or a section at a dormer. Water flows into it from two sides, often from a larger area than at an ordinary strip of covering. The detail therefore requires particular attention.
The roof valley should not be confused with a convex roof ridge. They handle water in opposite ways and use different flashings. An aesthetic strip without the correct drainage shape will not ensure tightness. The geometry must be read from the design and checked against the structure as actually built.
How do you choose the width and shape of the flashing?
An assessment is needed of the slopes, the length and the area directing water into the roof valley. The profile of the covering and the way the sheets are terminated are also important. There is no single width of visible strip that suits every roof. Too tight a narrowing to achieve a particular appearance can impede flow.
The flashing should have the shape and support provided for in the detail. Overlaps, terminations and the possibility of thermal movement must be taken into account. A component from one system does not have to fit another tile-effect metal roofing profile. The dimensions should be agreed before cutting the sheets reaching the roof valley.
What lies beneath the visible valley sheet?
The support arrangement must allow the flashing to be laid stably and to work together with the adjacent covering. The underlay requires a continuous, tight joint solution. Water that appears at this level should have a drainage path. An accidental cut in the membrane can leave a hidden leak beneath a correctly appearing flashing.
The exact arrangement depends on the type of roof and the requirements of the system. Layers should not be added without checking whether they create ponding or trap moisture. The detail is best inspected before the adjacent sheets are laid. Photographs of this stage are helpful at acceptance and later when determining the cause of any leak.

How do you terminate the sheets at the valley?
The edges must leave space for the designed water flow. The cut should be straight and follow the direction in which the covering is laid. Do not press the sheet at a random point to conceal a dimensional error. This can alter the profile geometry and hinder proper drainage of precipitation.
Use tools approved for coated steel sheet and remove swarf immediately. Fastenings should not create unforeseen holes in the drainage zone. Sealants and profile closures are selected to suit the detail. Excessive filling with random foam can trap water and contaminants instead of improving tightness.
How should sections and the lower termination be joined?
If the roof valley consists of several elements, the laps must follow the flow direction and the system requirements. The slope and the conditions of water action must be taken into account. A large overlap of the sheets alone does not replace correct shaping of the joint. Movement should not be rigidly blocked either if the detail allows for it.
At the bottom, the water should reach the intended outlet, usually in the area of the gutter. The roof valley, the eaves and the adjacent flashings meet here. This point is worth drawing with particular care. Even a correct middle section of the roof valley will not help if its end directs water behind the gutter apron or onto the façade.
How should the roof valley be kept in good condition?
Remove leaves, branches and deposits before they form a blockage. The roof valley collects contaminants just as it collects water. Near trees it may need more frequent inspection than the rest of the roof slope. Do not scrape the surface with sharp tools and do not drag hard debris across the coating.
The inspection should cover corrosion, damage and the condition of the joints. Access to this part of the roof requires proper fall protection. Do not treat the depression as a natural walkway. The manner of movement and any temporary support depend on the structure and the usage rules of the specific covering.
What should be done when a leak appears next to the roof valley?
First determine the point of water ingress. The trace inside may be lower than the actual defect. Check the free flow, the sheet edges, the laps and the lower termination. The layer under the covering must also be assessed if the available symptoms indicate a problem at that level.
The repair should restore correct drainage and the tightness of the detail. Applying further layers of sealant to the visible surface can make diagnosis more difficult. Sometimes replacement of the flashing or correction of the adjacent sheets is necessary. The roof valley works correctly when water has a guaranteed path and the joints remain consistent with the roof system.
7 branches. Materials closer to your project.