Designing a coordinated metal picket fence: from concept to specification
Metal pickets and fences
A fence project can easily fragment into separate decisions. First the colour is chosen, then the gate, and only at the end does one try to match the missing bays. Metal pickets offer many possibilities, but they are best used within an orderly plan. It is worth moving from the function of the property to the geometry, and only then to the finish. This order helps create a coherent appearance and an unambiguous order. It does not require complicated drawings at every stage, but it does need a few specific determinations. Start by dividing up the property. Mark the entrance, the driveway, the rest area and the quiet rear. For each section, note whether openness, screening or easy access for maintenance is more important. This allows photos to be assessed according to your own needs. Not every attractive fence will suit the actual layout of the plot.
In this article
Describe functions instead of collecting random inspiration
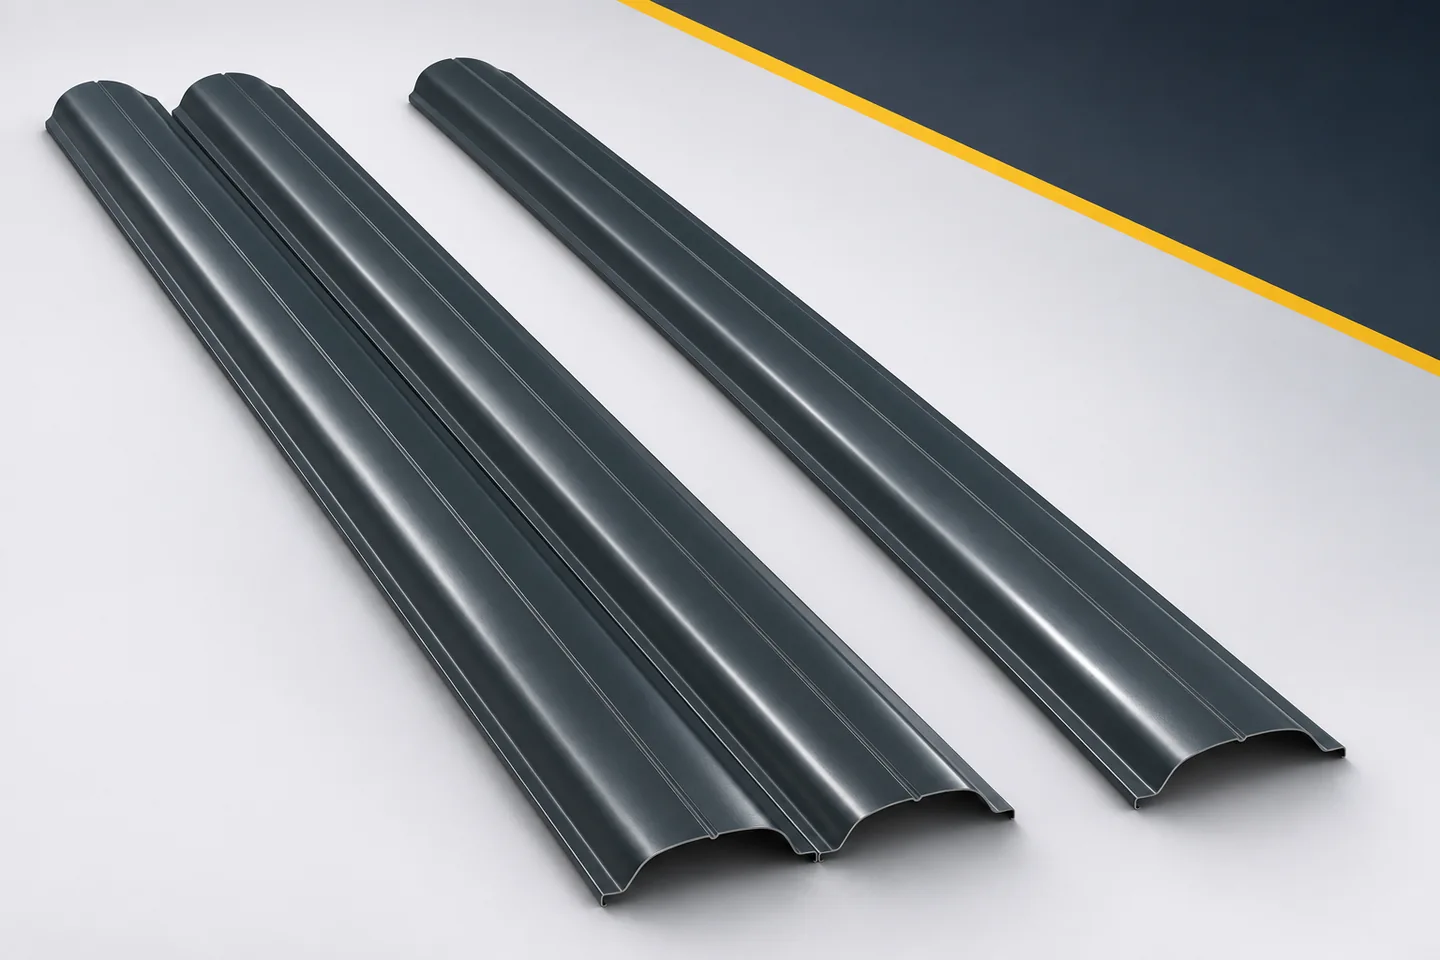
Sheet metal pickets can form different configurations within one material. However, it is worth keeping a common element throughout the composition, such as the cross-section and colour. Changes in spacing or height should have clear locations. A corner or a division by fence posts is usually easier to justify than a sudden change in the middle of a bay. A function plan helps to choose such boundaries consciously.
Establish the main dimensions and levels
Draw the position of the fence posts, gate and pedestrian gate. Check the actual clear width of the bays and the target ground level. The foundation, clearance and picket length should be described separately. Do not order the infill based on a fence height understood too generally. On sloping ground, the method of running successive bays is also needed.
It is worth producing a view from the street and from the garden. Metal pickets are part of both perspectives. A structure that remains barely visible from the front may dominate from the house side. It is better to notice this on a sketch than after installation. The point is not to omit the supports but to refine their position and appearance in line with the technical design.
Choose the actual profile and check its application
Compare the width of the finished picket, the depth of the cross-section, the ends and the available lengths. Do not use the input width to calculate the infill. If you plan a horizontal orientation, confirm that this direction is permitted and the necessary accessories. The maximum manufacturing length is not automatically a span without supports. This information must be kept separate.
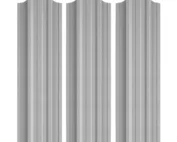
A short sample helps to see the shape but does not describe the whole structure. Sheet metal pickets should be selected together with the rails, fence posts and connectors. With a denser layout or two rows, the target degree of enclosure must be taken into account. The choice of cross-section should therefore lead to a feasible solution, not just an attractive view.

Approve the colour on a sample at the house
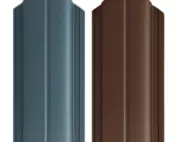
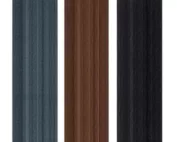
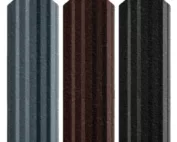
Determine what the fence should relate to. It may be joinery, the roof or a selected façade detail. Then compare the coatings in real light. The same colour number does not guarantee an identical appearance of different surfaces. Matt, gloss and embossing change the perception. It is worth viewing the material from the back as well.
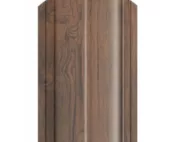
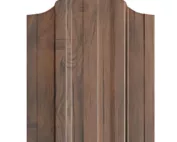
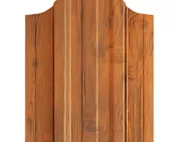
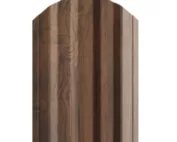
In the specification, describe both sides, not just the representative front. If a wood decor has been chosen, check the direction of the pattern and the effect on several elements. Metal pickets can be single-colour or decorative within the available range. Do not assume that every coating is available on every profile. Availability must be confirmed before closing the design.
Calculate the layout for each type of bay
The number of pickets depends on their width, internal gaps and spacing at the posts. It is not enough to divide the entire perimeter by a single module. The pedestrian gate, driveway gate and different bays require separate calculations. It is also worth recording the adjustment rule for bays of different widths. This way the ends of the fence will not look random.
For two rows, prepare a separate layout. Determine the offset and orientation of the pickets. Decorative finishing on both sides of the material is not the same as double-row installation. This note should be clearly included in the documentation. Add accessories specific to each arrangement to the schedule, instead of creating one approximate number of screws for the entire property.
Record the final variant and prepare for acceptance
The final specification should include the profile, lengths, quantities, end caps, declared thickness and a full description of the coating. Add the installation layout and the list of accessories. Before approval, go through the designations of all bays on the plan one by one. Each should be assigned a material group so that no short section at the entrance or corner is omitted. Keep a sample and the current instructions. If the fence is to be installed in stages, mark the boundaries of these stages. Later reordering will need to be assessed for availability and visual consistency.
Match the delivery date to the readiness of the structure and the storage capacity for the material. After receipt, check the variant, dimensions and surface condition before installation. Sheet metal pickets help create a repeatable, aesthetic fence when all decisions lead to one result. A well-recorded plan combines the appearance of the house with the needs of the users. It also facilitates execution without random changes and unclear assumptions at the final stage.
7 branches. Materials closer to your project.