Five roofing defects to look for before accepting the work
Structure and installation
Before accepting a metal roof, it is worth checking not only the colour of the covering but above all the quality of the substrate, the direction of the laps, the choice of fasteners, the condition of the coating and the patency of ventilation and drainage. These five areas help catch errors that remain invisible from street level. The building owner should plan a stage-by-stage inspection and agree with the contractor when to review the battens, the underlay and the key flashings. What matters is documenting the places later covered, so the assessment does not rely solely on a general view.
Mistake one. Installation on an unchecked batten grid
The covering mirrors the substrate. Crooked battens can make it difficult to close the seams and establish a straight eaves line. Excessive support spacing affects how the sheet performs under load. Over-tightening the sheet metal does not correct an improperly prepared plane.
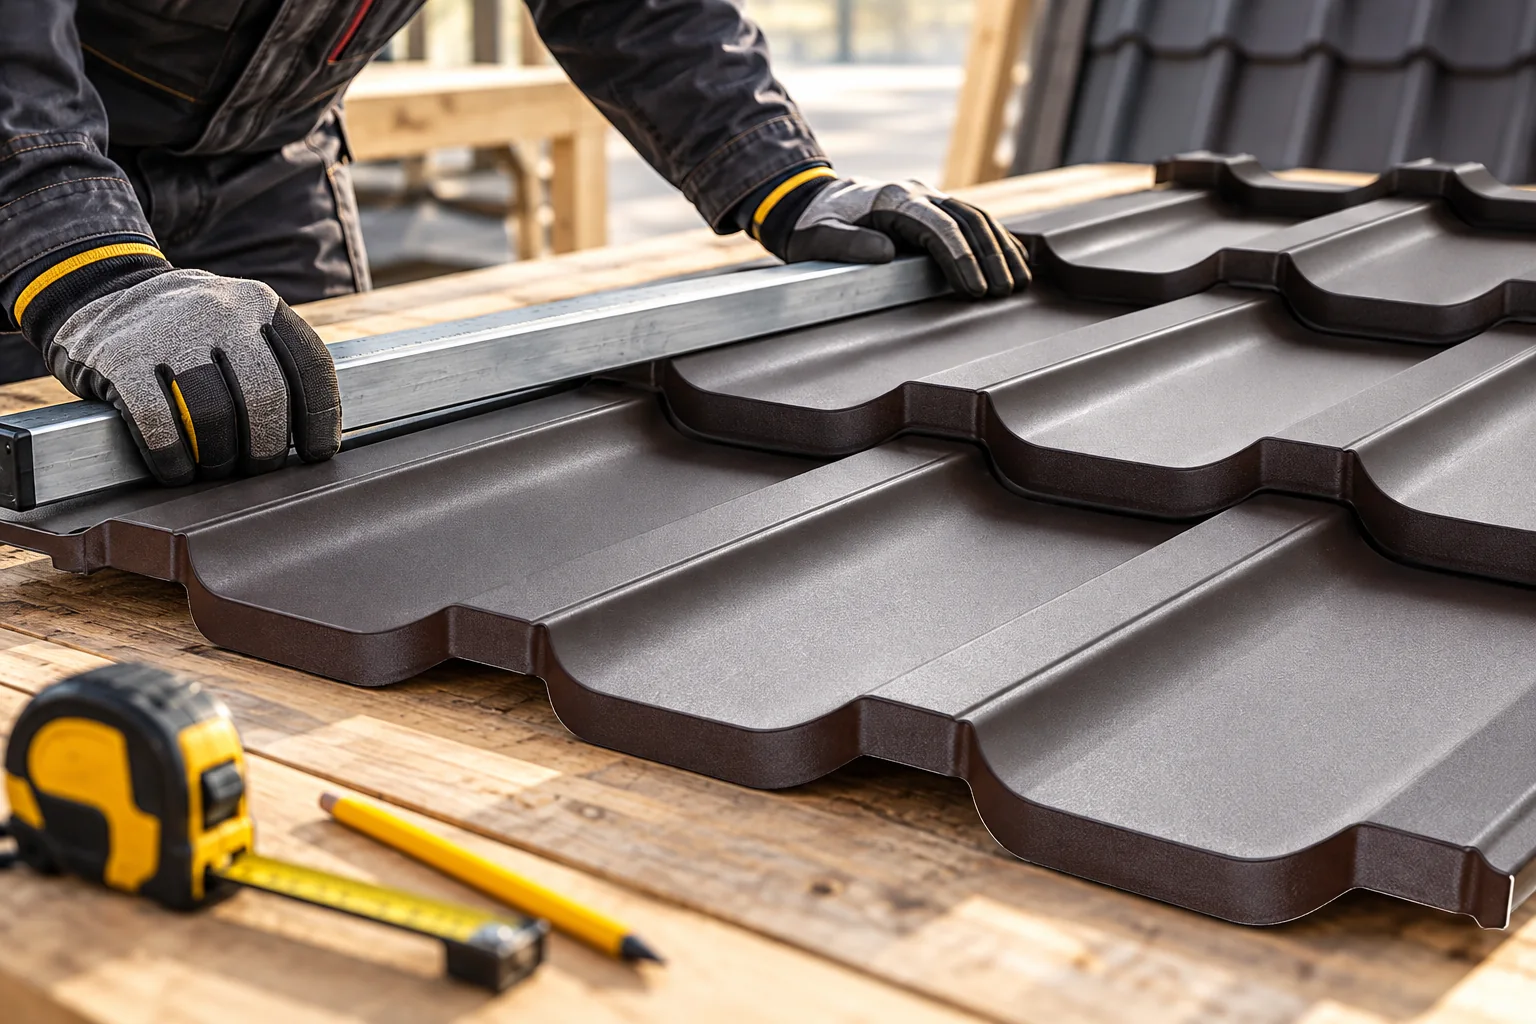
Before installation, the diagonals of the roof slopes, the cross-sections and spacing of the battens and the condition of their fixing are checked. With tile-effect metal roofing, the module length and the position of the first support are important. With trapezoidal steel sheet, the spacing results from the load-bearing capacity of the specific variant. These are different rules that should not be mixed.
Mistake two. Accidental direction of laps
The side edge of the sheet may have elements that limit water capillary action. If the joining method is reversed, the profile apparently still fits, but behaves differently. A similar problem arises when cut-off pieces are used without checking the direction of the seam. The saved piece does not offset the risk of leakage.
Transverse joints require adequate support, overlap length and, where applicable, sealing. The conditions depend on the product and the roof pitch. A single overlap must not be used for every sheet. With sandwich panels, the designed detail of the contact between cores and facings must also be maintained.
Mistake three. Incorrect fasteners and pressure
A wood screw does not replace just any fastener for a steel purlin. The drilling capacity, length and washer must match the substrate. Fixing the sheet to the structure is also sometimes confused with stitching the overlap. Each of these connections performs a different task.
The sealing washer should be pressed down correctly. Squeezing it out strongly from under the head does not indicate careful installation. Tightening it too little leaves play. The perpendicularity of seating and the distribution of the screws are also checked, with particular attention to the edges and corners of the roof.
Mistake four. Damage to the coating during work
Cutting with an angle grinder can overheat the edge and scatter hot filings. Scratches also occur when sliding sheets and walking in dirty footwear. The damage is not always large, but it can become a point of later corrosion problems.
Tools are selected for the material and the instructions. Swarf is removed after cutting and drilling, not only at the final washing of the entire roof. Protection of damaged areas should correspond to the coating recommendations. Extensive painting without preparation is not equivalent to factory protection of the sheet.

Mistake five. Blocked ventilation and poor drainage
Foam, insulation or ill-fitting flashings can block the airflow path. In a roof requiring ventilation, the channel should connect the correct inlet with the outlet. A vapour-permeable membrane does not replace this path. Moisture retained in the assembly can later be mistaken for a rain leak.
The drainage path is equally important. A membrane ending above timber, a poorly made roof valley or chimney flashing can direct moisture under the covering. Sealant will not fix an inverted layer sequence. First the geometry of the detail must be checked, and only then the condition of the seals used.
How to plan the inspection of the subsequent stages?
Agree with the contractor the timing of the inspection of the substructure, the underlay and the most important flashings. Photographs should show areas later covered, not just a general view of the construction. In case of doubt, it is better to check the detail before laying the next strip of sheet metal.
The inspection must take place from a safe position. The client should not walk on the unfinished roof themselves. They can use photographic documentation and an inspection by a person prepared for work at height. It is important to agree on specific defects and how they will be rectified.
A short inspection sheet with roof slope and photo numbers can be prepared. In it, separate a defect from a question requiring clarification. Not every visible bend is a defect, and not every neat lap is technically correct. The reference points should be the detail drawings, the product instructions and the agreed scope of work.
What should the handover inspection cover?
Record the conformity of materials with the order, the condition of the surface and the assessment of visible joints. Check the flashings, the patency of drainage and the removal of swarf and protective films. The list of remarks should indicate the location and the symptom. A general statement that the roof looks bad does not make repair easier.
Keep the instructions, proof of purchase and batch markings. Do not turn a verbal assurance of tightness into the only acceptance document. If a discrepancy with the design has arisen, it must be clarified. A well-executed roof should be assessable by specific details, not solely by the effect from a distance.
7 branches. Materials closer to your project.