Installing a rainwater gully at the base of a downpipe
Gutters and flashings
A silt trap on a downpipe is meant to hold back leaves and sand before they reach the drainage pipe, so before buying one, decide where the water will go and what cross-section the downstream installation has. Also check that the unit fits the downpipe and the drainage pipe, that the cover will stay accessible once the surface is laid, and that you will be able to lift out the basket. Bear in mind that a silt trap does not increase the ground’s absorption capacity or the performance of an overloaded system, and its installation is best planned together with the final surface finish around the building.
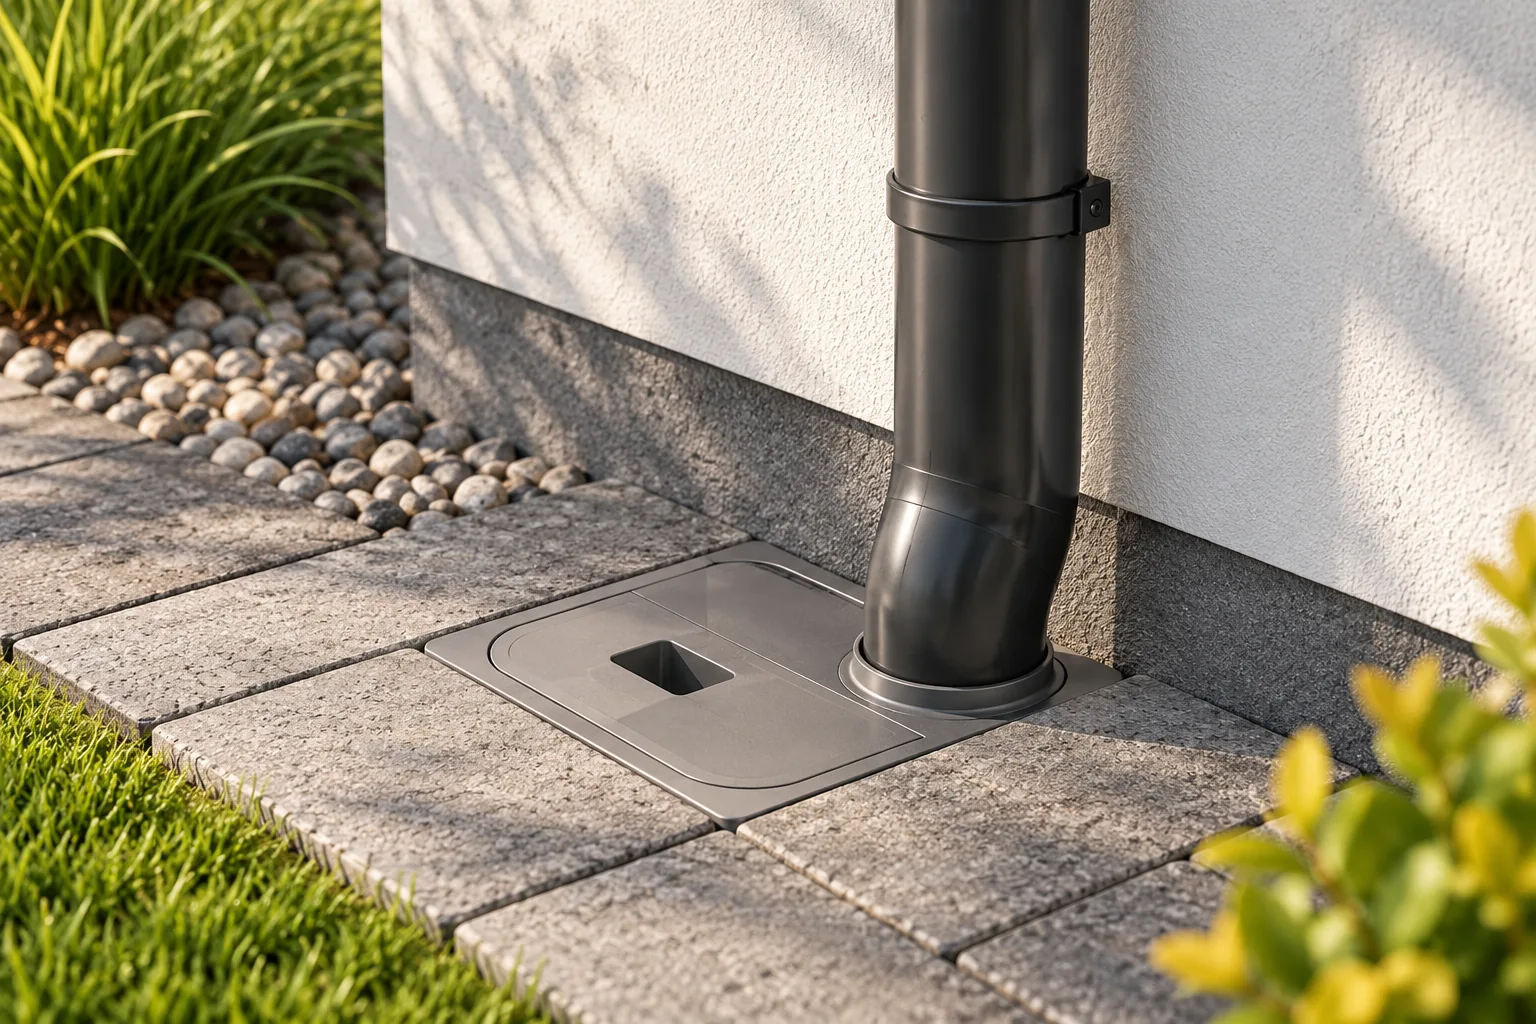
What function does the rainwater gully serve?
Not only water flows from the roof. Leaves, small twigs and sediment collect in the gutters. A rainwater gully helps capture some of this debris before it enters the underground pipe. Depending on the design, it has a basket, strainer or other collection point accessible from above.
It is not a maintenance-free device. When the basket fills, water may find an outlet to the outside or back up in the pipe. The gully also does not replace gutter cleaning. A large blockage left on the roof can restrict drainage before debris reaches its interior.
Determine the water path after the device
First check where the outlet pipe is to lead. The receiver may be a designed rainwater system, a tank or a suitably selected infiltration device. Each solution requires its own conditions. Simply burying the pipe in the ground does not ensure effective drainage of rainfall.
Ground levels, the patency of the downstream pipe and the possibility of water backing up are important. If the installation is already in place, find out its route before digging. When connecting to an existing network, the connection conditions must be established with its operator. The gully does not determine the permissible receiver.
Select the diameters and discharge direction
The top inlet should match the downpipe or the intended reducer. Also check the position of the outlet stub. A variant with a side outlet requires a different pipe routing than a device with a bottom outlet. Do not choose a model solely by the colour of the cover.
Too small a cross-section can restrict the operation of the entire drainage system. Do not narrow the pipe without calculations simply because a smaller gully is easier to fit against the wall. Take into account the number of roof slopes and the feed pipes for the given section. A shared receiver for several downpipes requires an assessment of the combined flow.
Determine the level of the finished surface
The cover must remain accessible after paving, kerbs or planting beds are installed. If the gully is set too low, it will collect water and soil from its surroundings. An element protruding too high will make the passage difficult to use. The level is set relative to the planned finished surface, not the temporary ground on site.
Surface water should not be accidentally directed under the wall. Proper shaping of the surface is needed in the vicinity of the gully. Also determine the cover loads. An element intended for pedestrian areas does not become resistant to vehicle traffic simply because it has been surrounded with concrete.

Prepare stable support and connections
The unit and pipes must be founded on a substrate constructed in accordance with the instructions and the drainage design. Uneven settlement can distort the connection or alter the pipe fall. Do not leave the weight of the downpipe resting accidentally on the edge of the gully cover.
During backfilling, protect the interior from sand and mortar. Make connections with elements suitable for the given diameters and materials. The outlet pipe should retain the designed fall. Raising one end on a loose stone is not a durable way of setting it.
After the surface is completed, check the unit’s alignment again. Compaction of the base and work at the edges can shift its body. Check that the cover closes freely and that the pipe does not press it at an angle. Do not remove the basket to mask a drainage problem. Without it, debris will pass further into the pipe.
Leave space for cleaning
Before completing the works, try to open the cover and remove the basket. This is a simple way to detect a clash with the pipe, the base or the surrounding construction. A cover that opens only partially may prevent sediment removal. Space is also needed to set down wet debris.
If the pipe has an inspection opening, it should remain accessible independently of the gully. Do not fill service elements with mortar or cover them with permanent cladding. In places with large amounts of leaves, inspection may be needed more often than once per season. The frequency results from actual soiling.
How do I check operation after installation?
Remove construction residues and carry out a controlled flow test. Observe the pipe inlet, the gully and the further outlet where it can be checked. Water should not escape at the joint with the enclosure. At the same time, a small test will not confirm the installation’s performance during a sudden downpour.
The first intense rain is an opportunity to observe the system from a safe place. If water backs up, check the basket and the further pipe. If the problem recurs, an assessment of the receiver and cross-sections is needed. Replacing the cover with a tight plug will only move the point of overflow.
7 branches. Materials closer to your project.